What are GNOME Shell Extensions?
GNOME Shell extensions, as the name suggests, extend the functionality of GNOME Shell desktop. They work somewhat similar to Chrome and Firefox add-ons. A shell extension is capable of doing trivial things like hiding an icon in the system tray as well as providing a full fledged app based on native GNOME or third party APIs. These extensions have been developed by official GNOME developers, distribution maintainers and a number of third party developers.
Installing Browser Integration Add-ons
To install a GNOME Shell extension on your system, first you have to enable a native connector browser addon recommended by GNOME developers. Without this addon, you won’t be able to download and install extensions from official extension repository available online.
The official integration add-on for Chrome browser can be installed in Ubuntu using the command below:
You can also install this add-on from Chrome Web Store if it is not available in your distribution’s repository.
GNOME Shell integration add-on for Firefox can be installed from here.
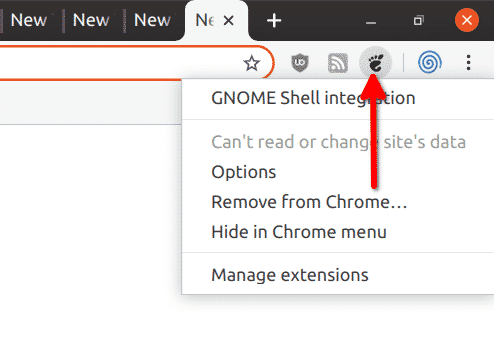
After you have successfully installed the add-on, you will see a new GNOME paw icon in your browser when you launch it next time.

Installing Extensions from the Online Extension Store
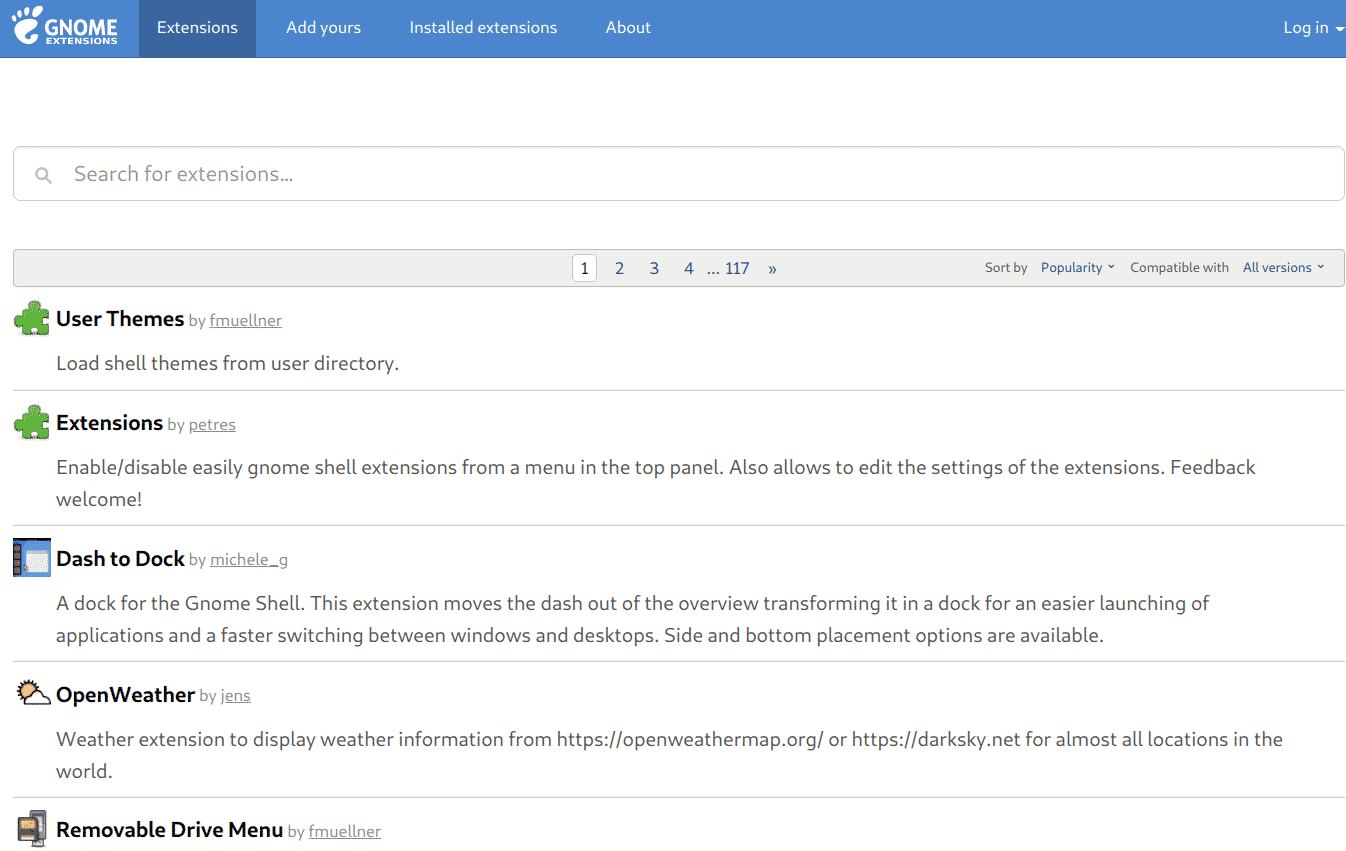
Now that browser integration has completed, you are ready to install some extensions. Go to GNOME shell extensions repository available here to browse a list of available extensions. By default, extensions for all GNOME Shell versions are shown. You can click on “All versions” dropdown menu to narrow down results to a specific version of shell.
To check GNOME shell version on your system, run the command below:
To install an extension, first click on its name to go to its detailed listing page.
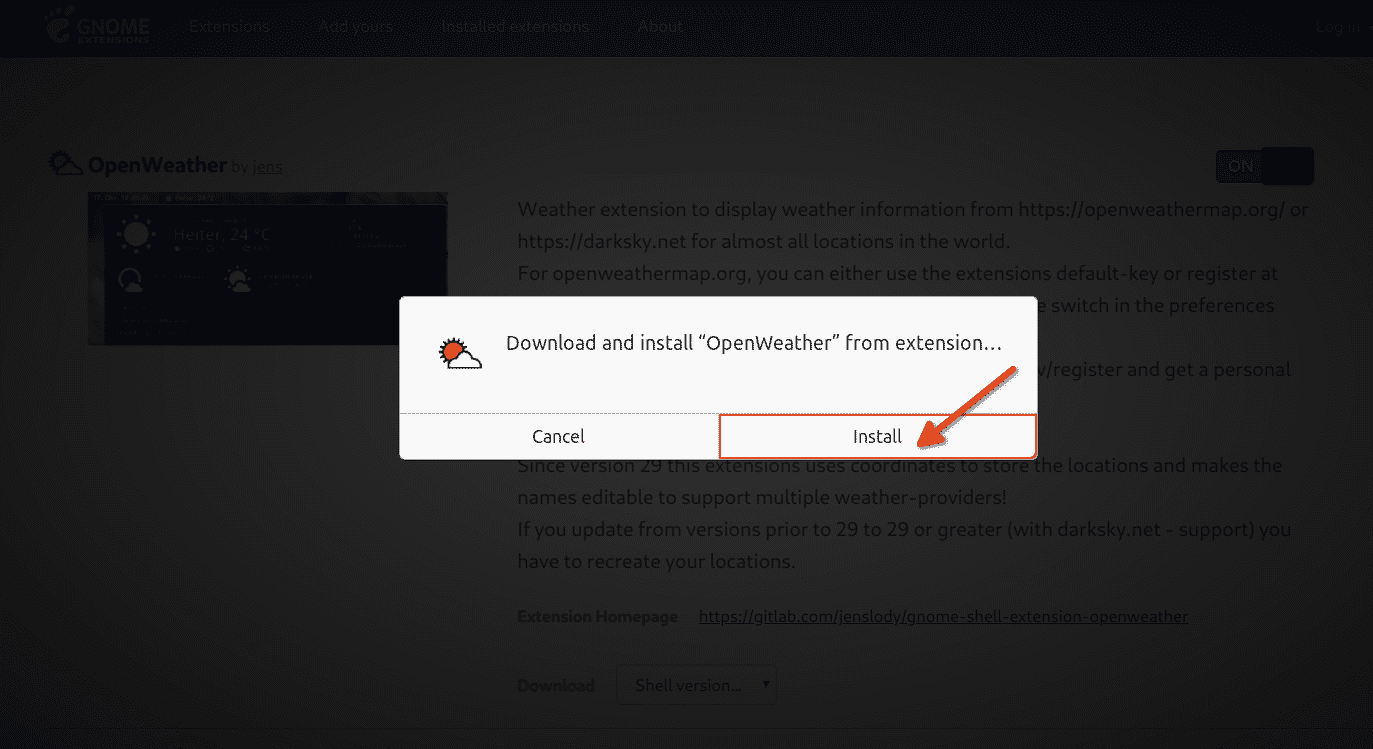
On the extension details page, click on the on / off toggle button to initiate installation.
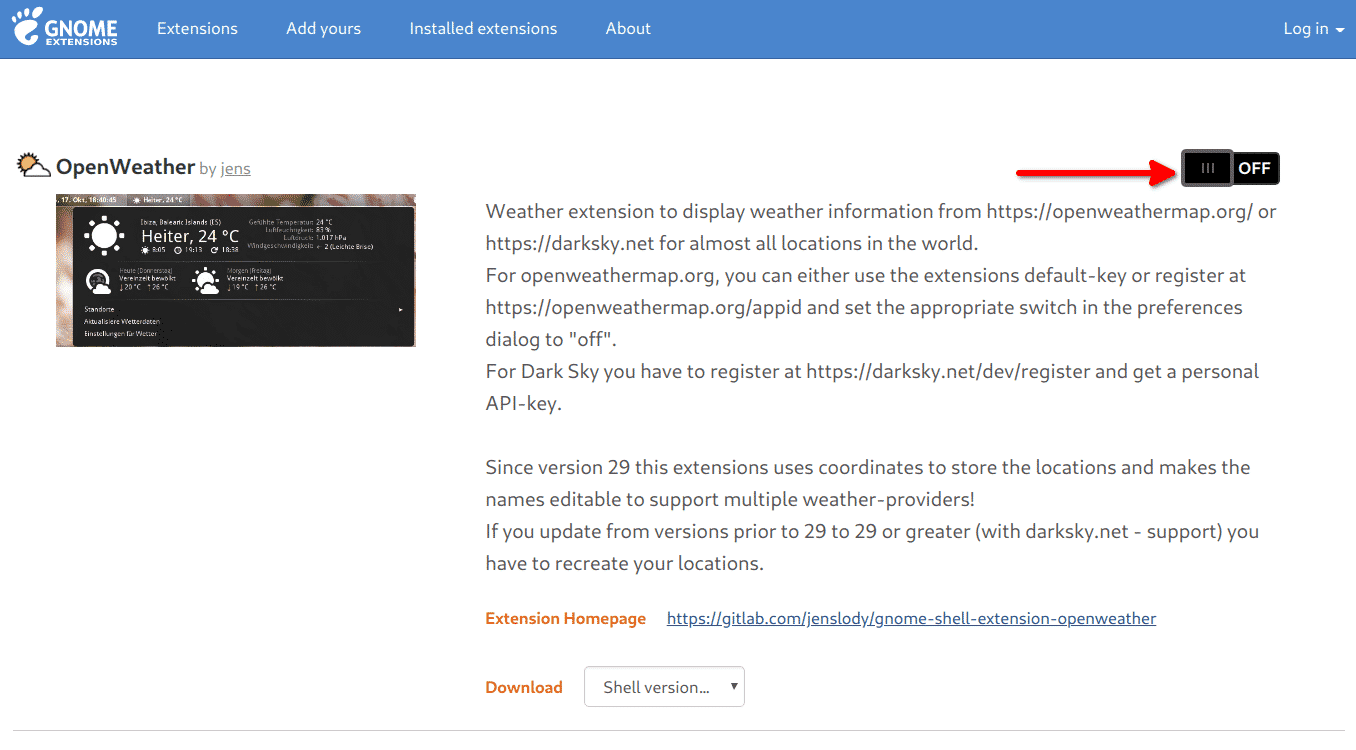
Click on “Install” button when prompted.
That’s it, selected extension is now successfully installed on your system. Some extensions require you to logout from an active desktop session to work. It is possible to force reload GNOME Shell by pressing <ALT + F2> key, entering the letter “r” in the visible input box and hitting <Enter> key. However this method may cause unexpected behaviors, crashes and freezes on your system. So the ideal solution would be to close all your running apps, logout and re-login.
Updating, Configuring and Removing Extensions from the Online Extension Store
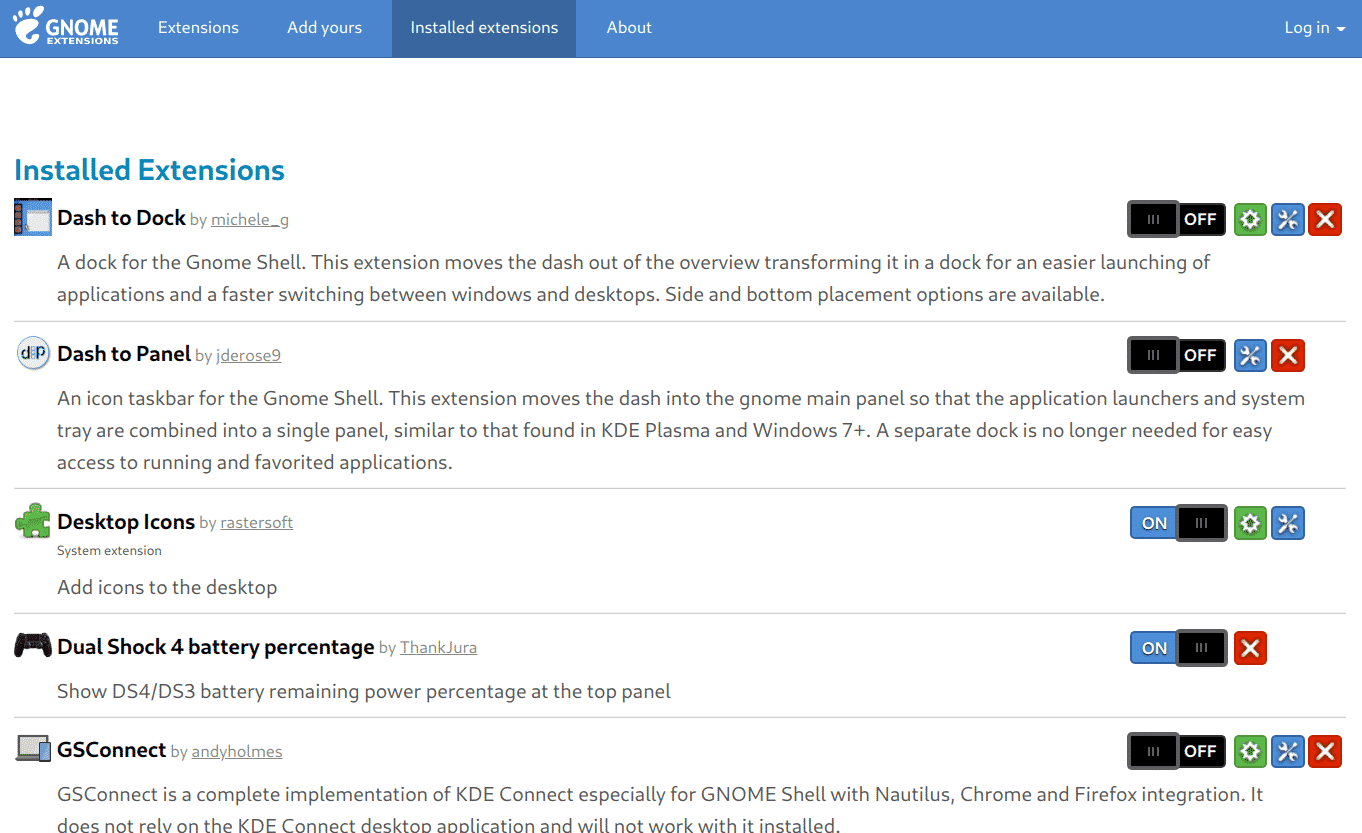
You can easily manage shell extensions installed on your system from the online store itself. Go to “Installed extensions” link in the top bar to see a list of all the extensions installed on your system. From there, you can update (upward arrow icon), configure (wrench icon) and remove an extension (cross icon).
Syncing Extensions with Your Google Account
You can sync installed shell extensions with your Google account (Chrome only). Right click on the native connector extension icon on Chrome’s top bar to access its options.
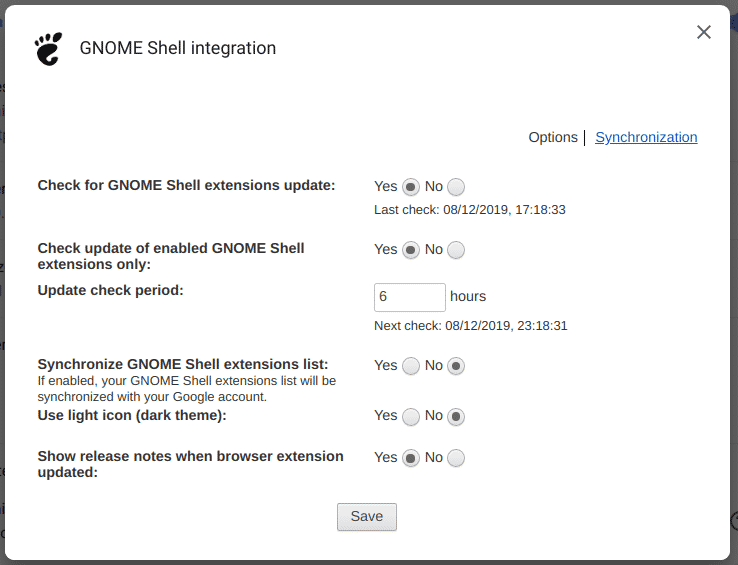
Enable “Synchronize GNOME Shell extensions list” option by checking the radio box in front of it.
Managing Extensions Using Gnome Tweaks App
To configure, enable and disable gnome shell extensions on your desktop, you can install gnome tweaks app by running the command below:
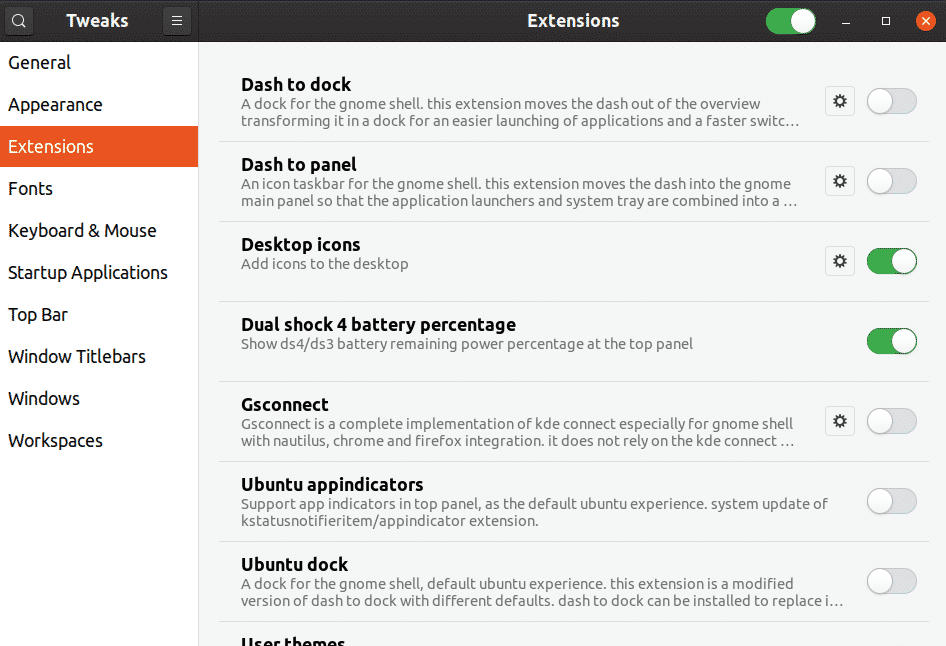
After installing the app, launch “Tweaks” app from application launcher. Click on “Extensions” entry on the left sidebar. From here, you can toggle and configure extensions. This method works even if you don’t have an active internet connection and doesn’t require you to use online web store to manage extensions.
Managing Extensions Using a Hidden App Not Visible in App Launcher
Running the command below will launch a hidden app dedicated to extensions management.
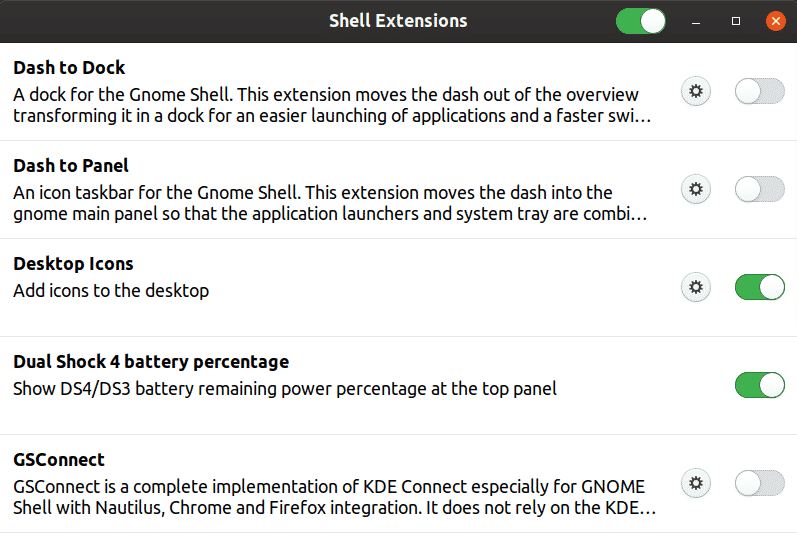
This method works even if you don’t have tweaks app installed. This also doesn’t require an active internet connection to work.
Installing Extensions Without Web Based Store and Browser Integration Add-ons
So far we have seen that extensions can be installed and managed using the online web store and they can be configured using offline desktop apps as well. However, it is possible to completely bypass the online web based store and browser integration add-ons.
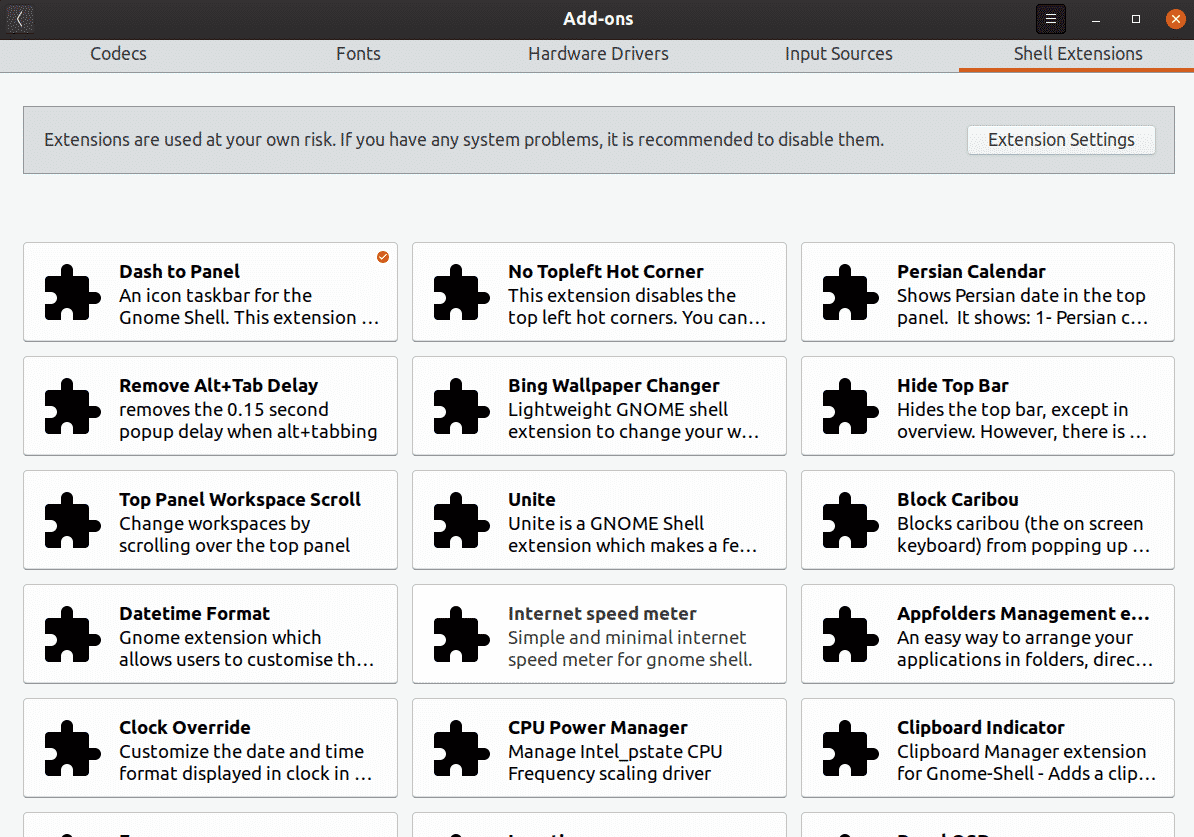
You can use “Ubuntu Software” app store shipped by default in Ubuntu to install GNOME shell extensions. Launch “Ubuntu Software” app from application launcher and go to “Add-ons” > “Shell Extensions”. All you have to do is click on an extension’s listing to go to its details page and install it from there. Clicking on “Extension Settings” will also launch hidden extension management app mentioned above.
Conclusion
Using GNOME shell extensions is a good way to extend your desktop with additional functionality. However, installing too many extensions can slow down your desktop and there is always a risk of a misbehaving extension crashing the entire desktop. Like any other third party app, you should also be vary of installing any random extension, as there is always a change of malicious app getting into your system. Even though almost all extensions are open source, you should install them from known and trusted sources only.