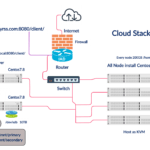
Step 1: Configure MacOS Amazon Machine Image
Let’s start creating an AWS EC2 Instance. Go to AWS console and navigate to Services >> EC2.
Click on Instances on the left sidebar.
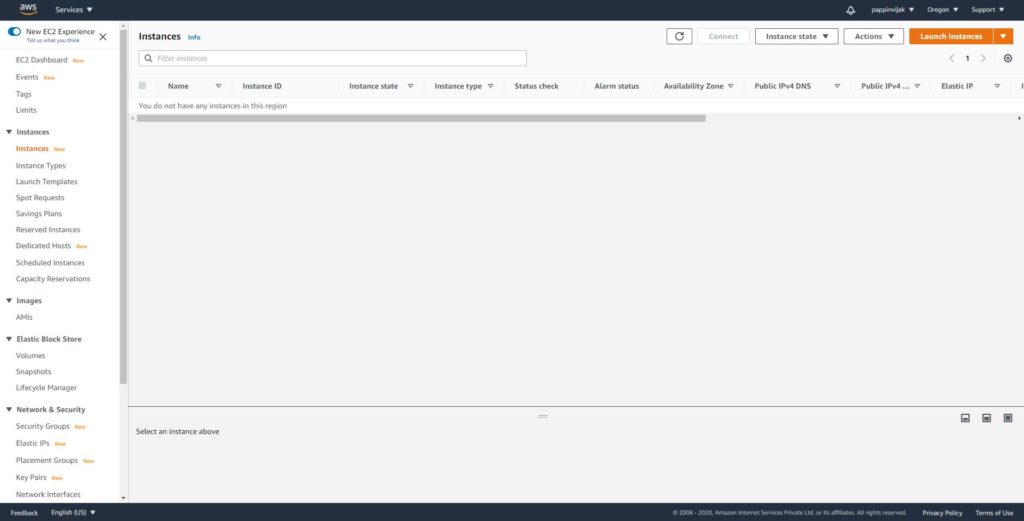
Click Launch instance.
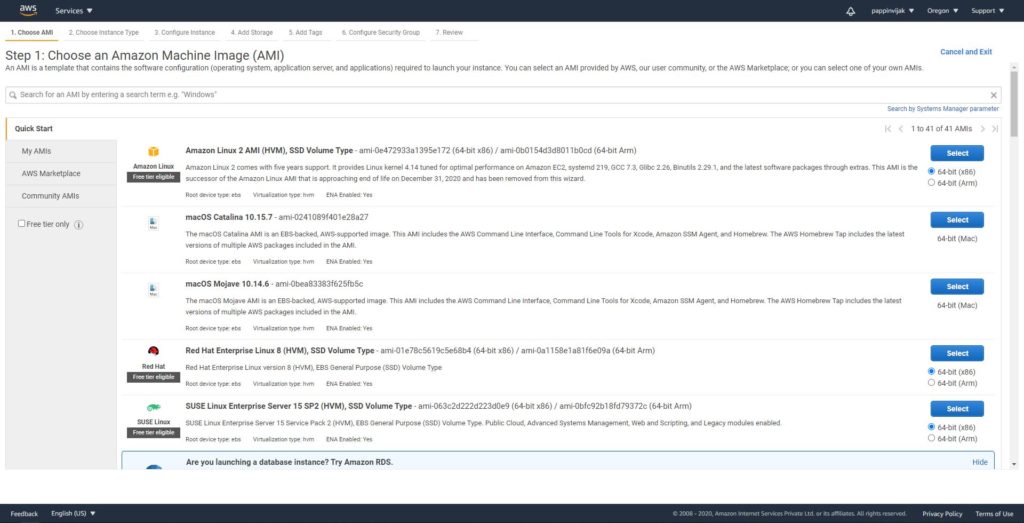
Here you will see macOS Catalina and Mojave. You can choose Catalina Image.
Step 2: Choose Instance type
Here you are allowed to choose only the machine that is related to Mac.
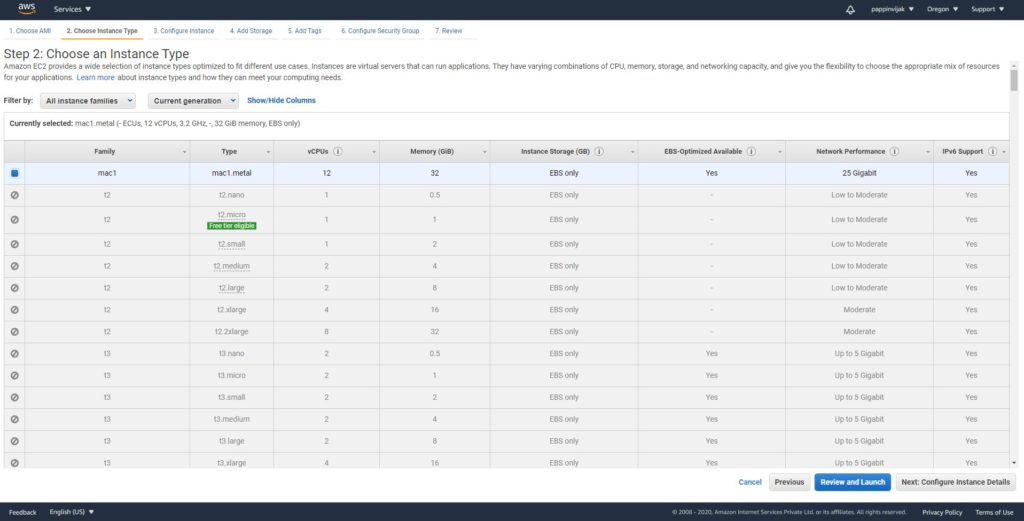
Click Configure Instance Details.
Step 3: Configure Instance
Here you need to create dedicated host for using MacOS server.
Once you have created you can choose this host and proceed to next step.
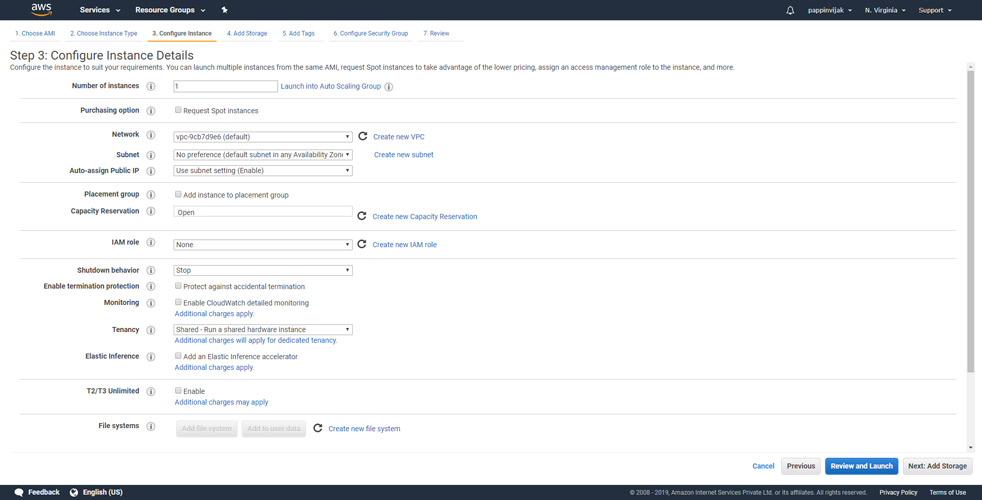
Click Add Storage.
Step 4: Add Storage
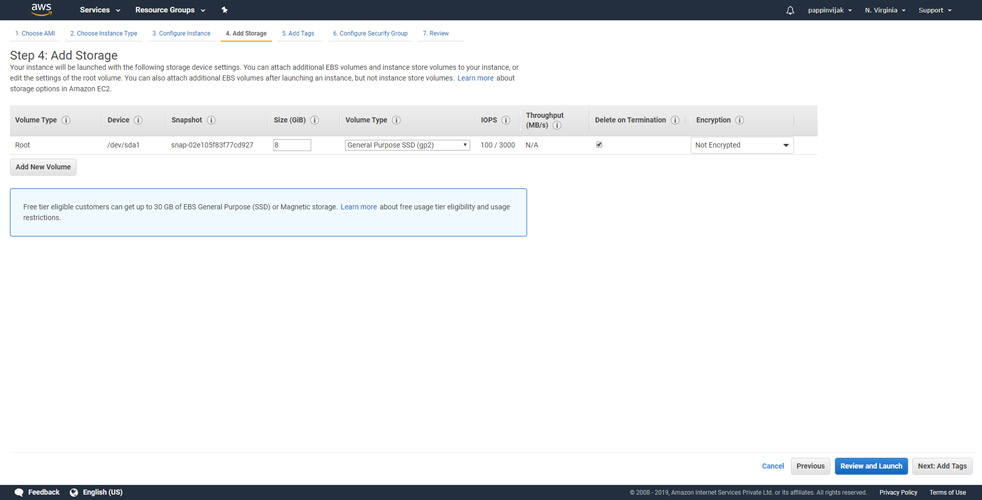
You can also leave this step to be with the default settings.
Click Add Tags.
Step 5: Add Tags

Tags are useful to identify the Instance, here we will assign a name to our instance.
Click click to add a name tag and enter a name in the value field.
Click Configure Security Group.
Step 6: Configure Security Group
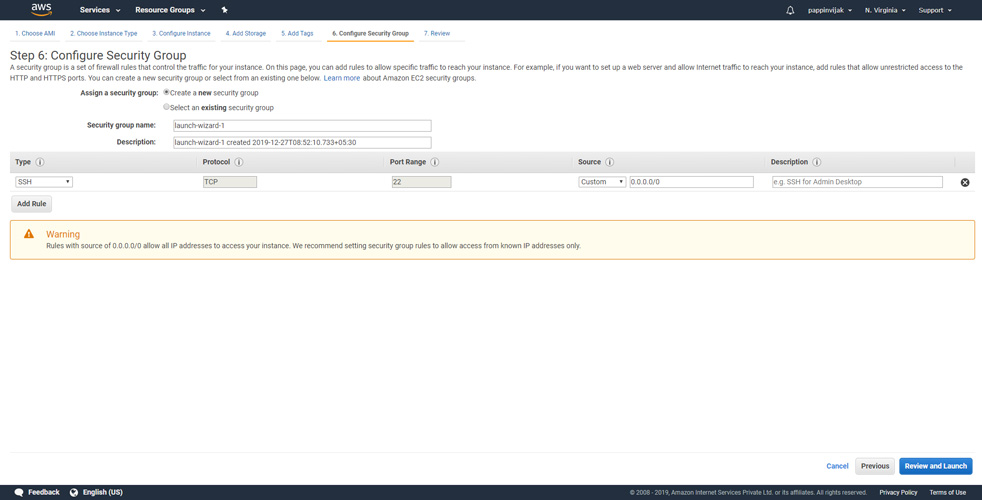
This is an important setup where you can allow connections to your instance by opening certain ports.
By default SSH port is enabled.
If you need any additional ports opened you can add rules for those ports also.
Click Review and Launch.
Step 7: Review the Instance details
In this section you can review all the options you have chosen in the steps before. Once you have reviewed them you can click launch.
Step 8: Create PEM key and launch Instance
Now you will be prompted to assign a key pair to access your instance.
Select create a new key pair.
Enter a name to your key.
Click Download Key Pair.
Important: Save the key pair, if you miss this key you wont be able to access your instance using SSH.
Click Launch instances.