In the case of any Linux distros, DE (desktop environment) is one of the most important defining factors of user experience! It’s because Linux isn’t so graphical. The job of a DE is to provide the necessary UI and functionalities that you’d expect from a “desktop”.
GNOME is one of the top-tier DEs, both in terms of popularity and feature. Let’s have a look at how to install GNOME on openSUSE.
The GNOME Desktop
The GNOME (GNU Network Object Model Environment) is a common desktop environment you’ll come across in many Linux distros. It’s an open-source project actively developed by the GNOME Project via the GNOME Foundation and the community. GNOME started its journey back in 1999 and it’s still going strong! Some other popular desktop environments like MATE, Cinnamon, and Unity etc. are forks of GNOME.
GNOME isn’t just a desktop environment. It’s also a whole ecosystem of applications for all sorts of purposes. Known as GNOME Apps, the list includes Rhythmbox, GNOME Twitch, Geary, Calendar, Anjuta, Disks, and a lot of others.
What makes GNOME so popular? Well, it’s better to experience it by yourself than reading a bunch of text, right?
Installing GNOME
GNOME implements the classic “desktop” metaphor in an elegant manner. Because of its immense popularity, all the major Linux distros (including openSUSE) support GNOME. We’ll be using YaST as it’s the safest and easiest way to manage desktop environments.
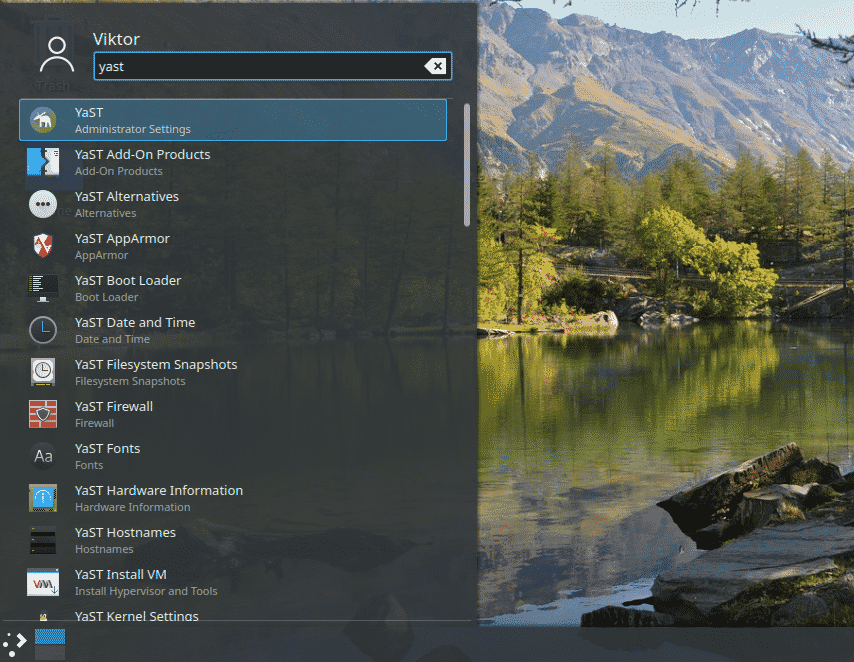
Search YaST in the menu.
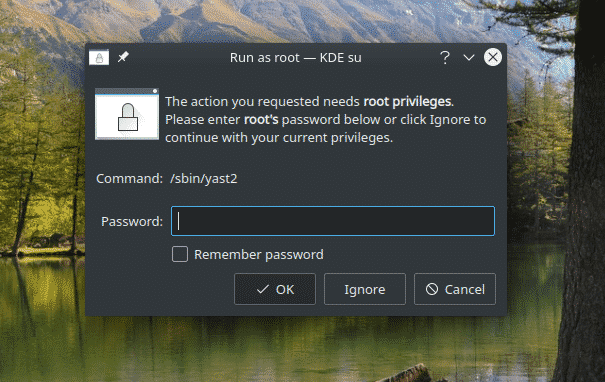
Enter the root password.
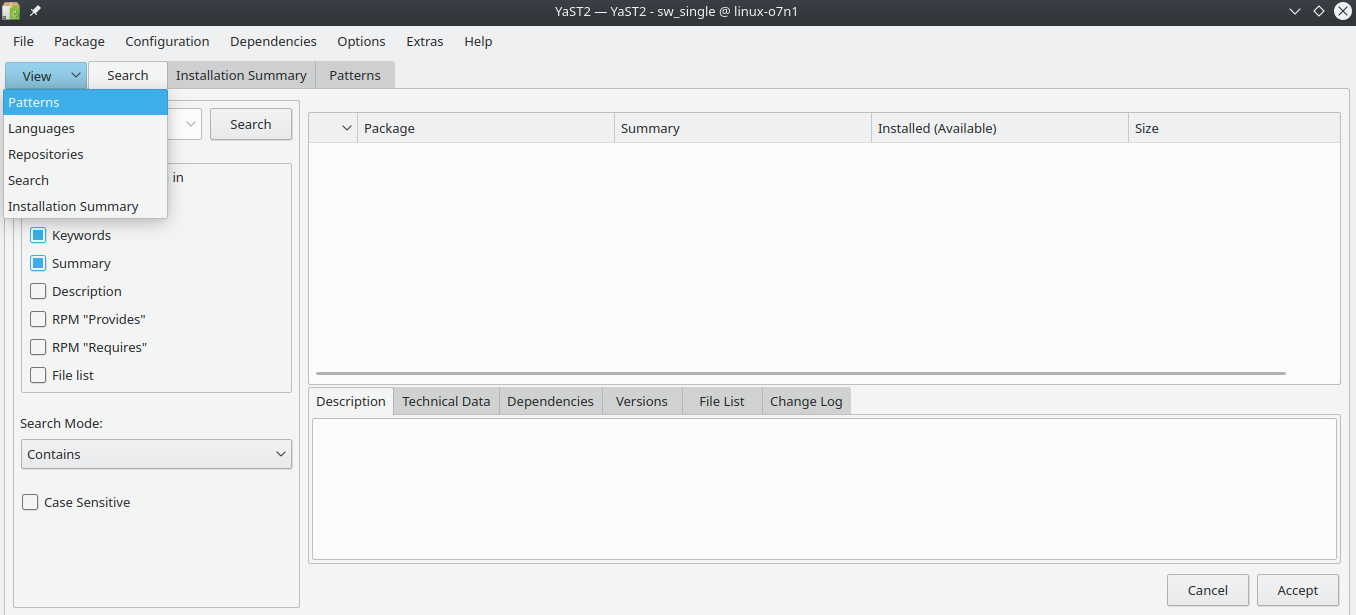
Select “Software Management”.

From the “View” drop-down menu, select “Patterns”.
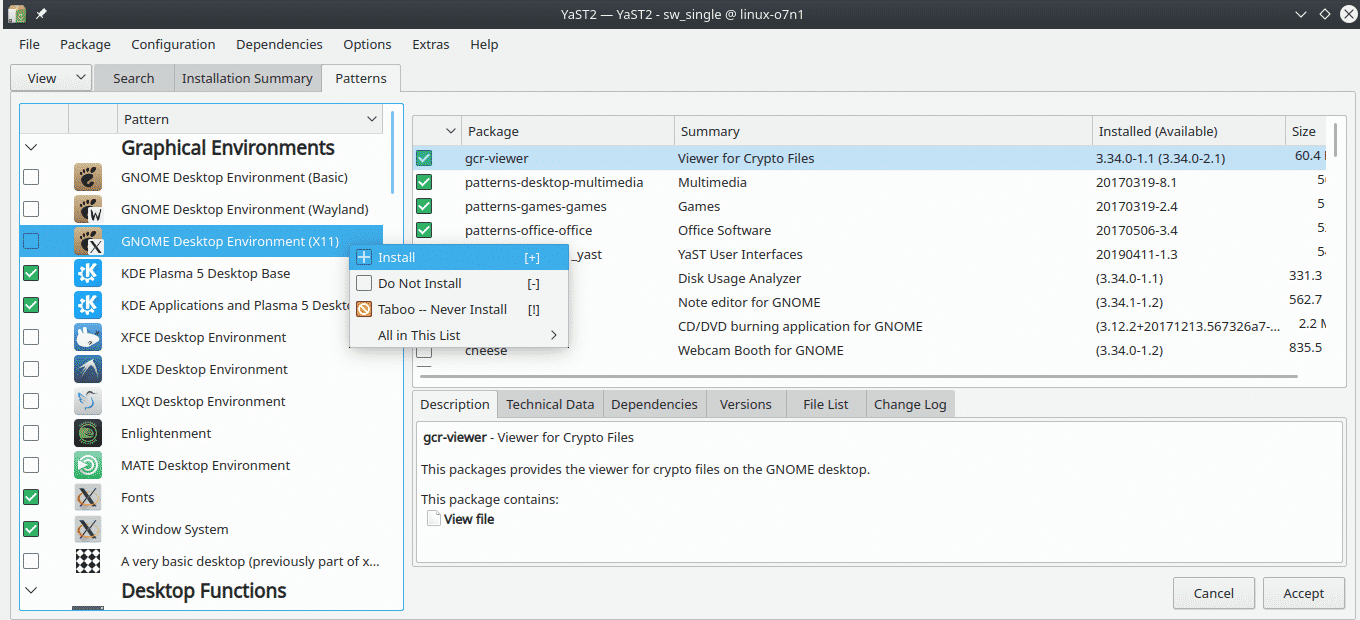
As you can see, all desktop environments are placed under the section “Graphical Environments”. Right-click on “GNOME Desktop Environment (X11)” and select “Install”. We’re going with the x-server version because x server has been around for years, it’s mature and compatible with most of the programs. If you’re adventurous, then you can go ahead with Wayland as well.
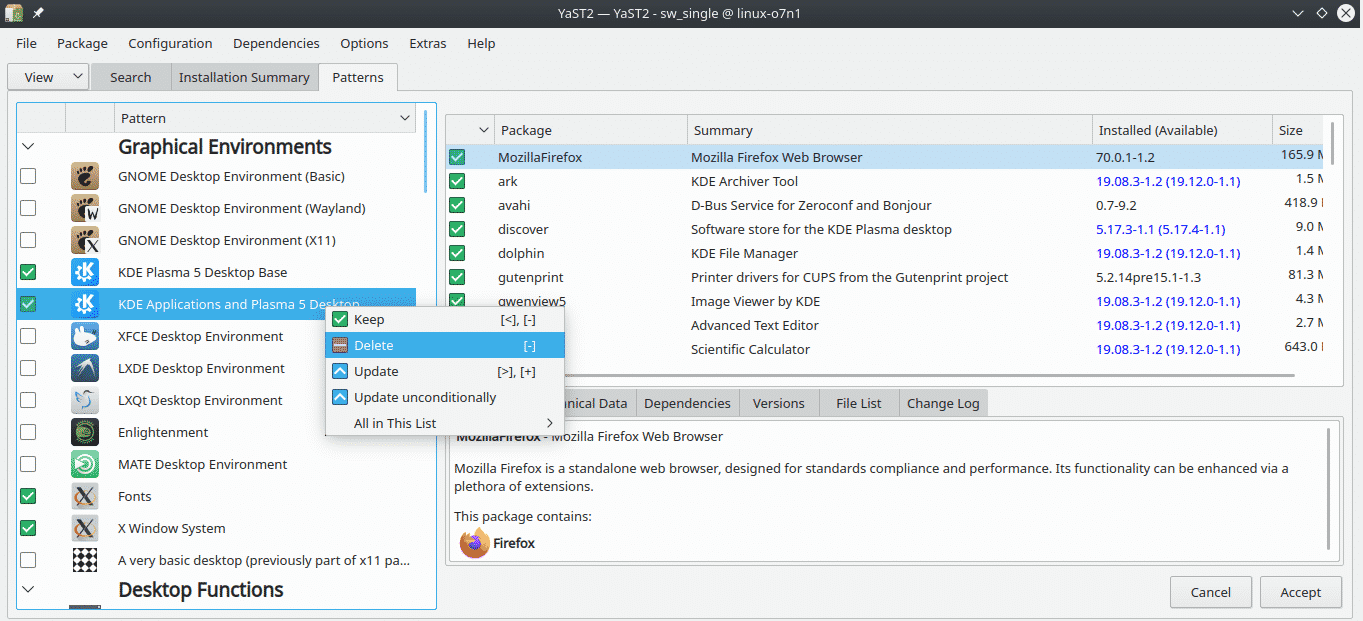
This is an optional step, so you can skip it if you want. You can also choose to uninstall the previous desktop environment. In my case, it’s KDE Plasma and its related apps.
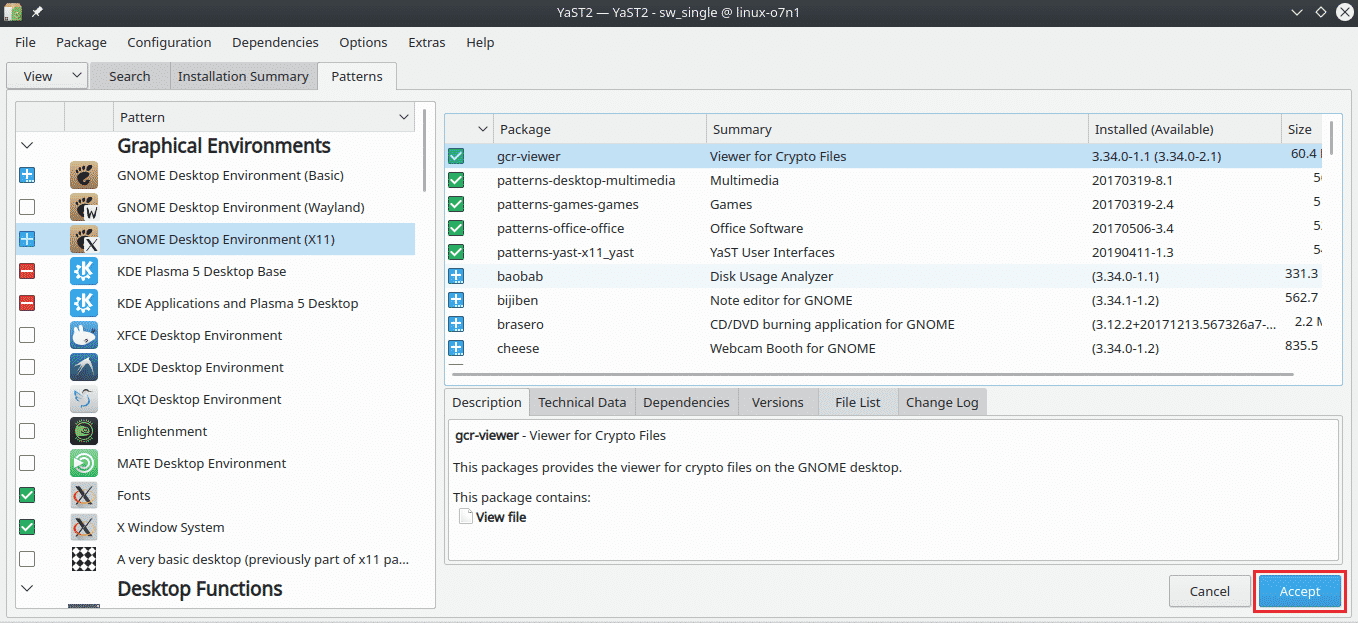
When you’re ready, click “Accept”.
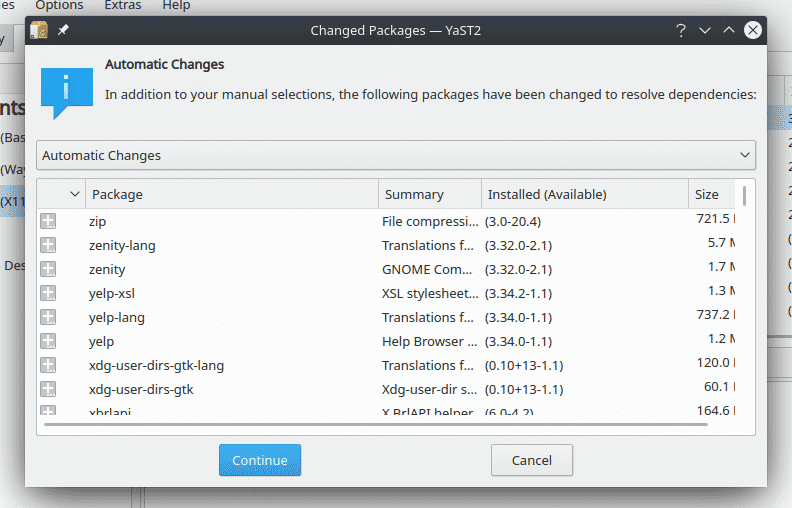
The list will give you a short summary of what changes are being made. Click “Continue”.
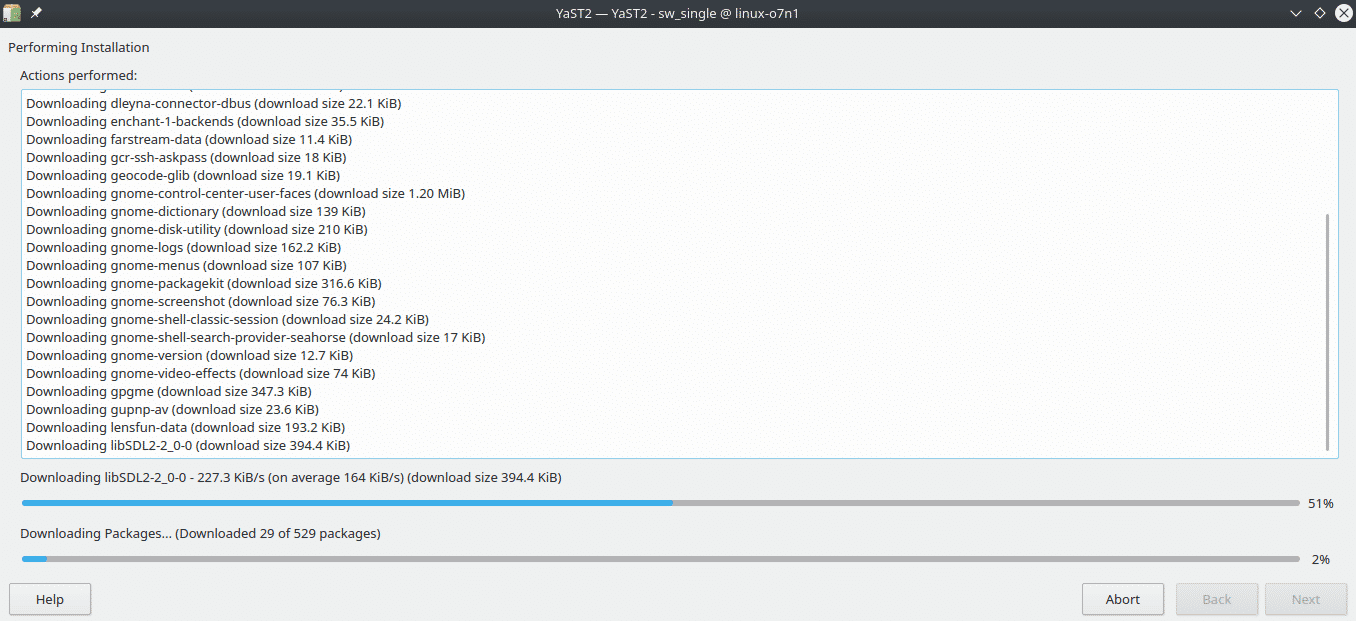
It’s going to take a while to download and install/uninstall the necessary packages. Have a cup of coffee in the meantime!
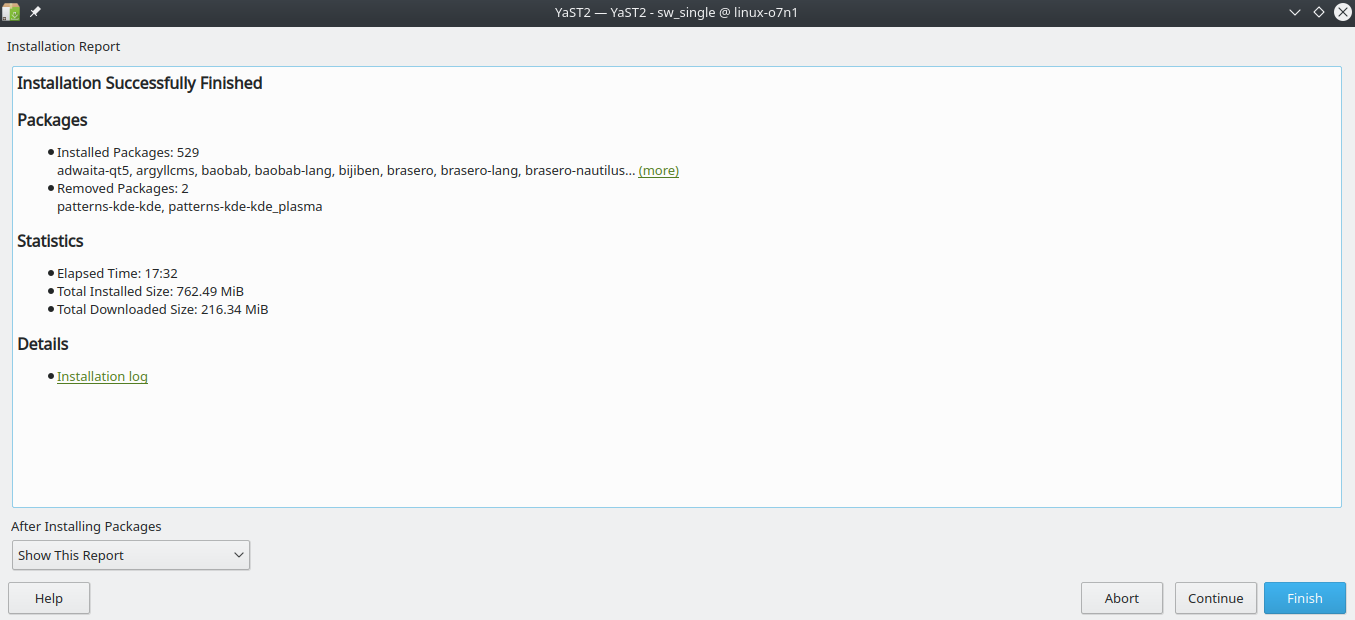
Once the installation is complete, it’ll show a short report of the installation process. Click “Finish”.
Reboot your computer.
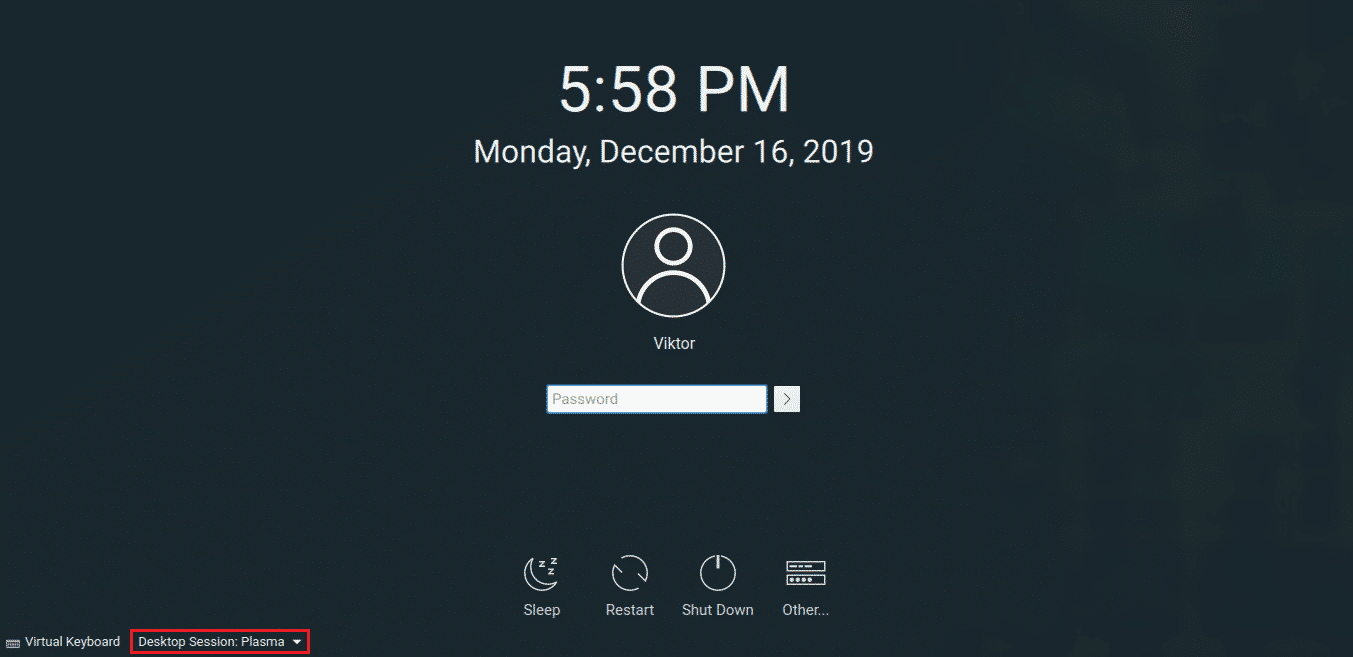
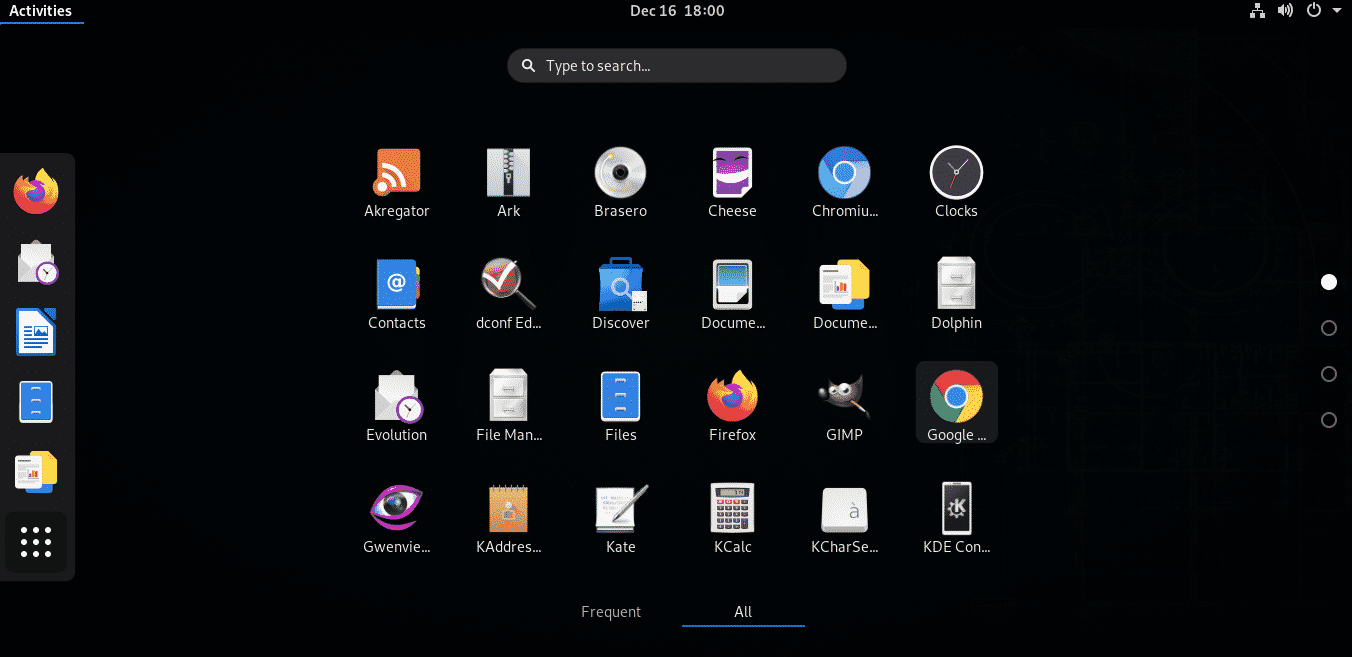
From the bottom-left corner, select “GNOME” from the drop-down menu.
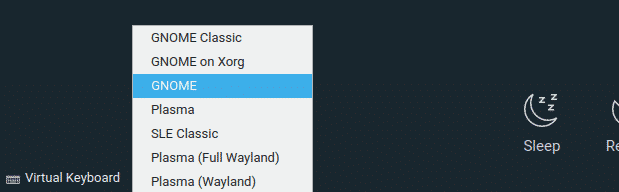
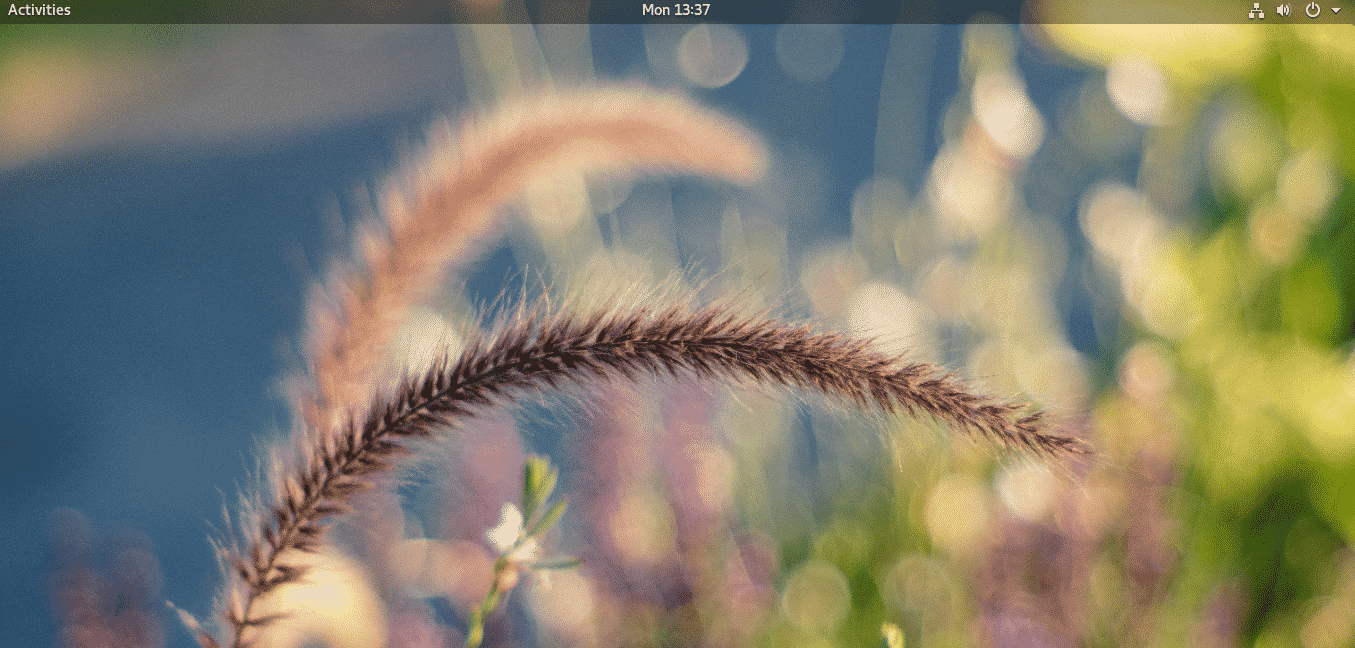
Voila! GNOME is the desktop environment now!
Tweaking GNOME
GNOME is an extremely customizable desktop environment. Almost every single part of it is subject to customization. There are a number of ways to do so. In this section, let me introduce some of the ways you can do so.
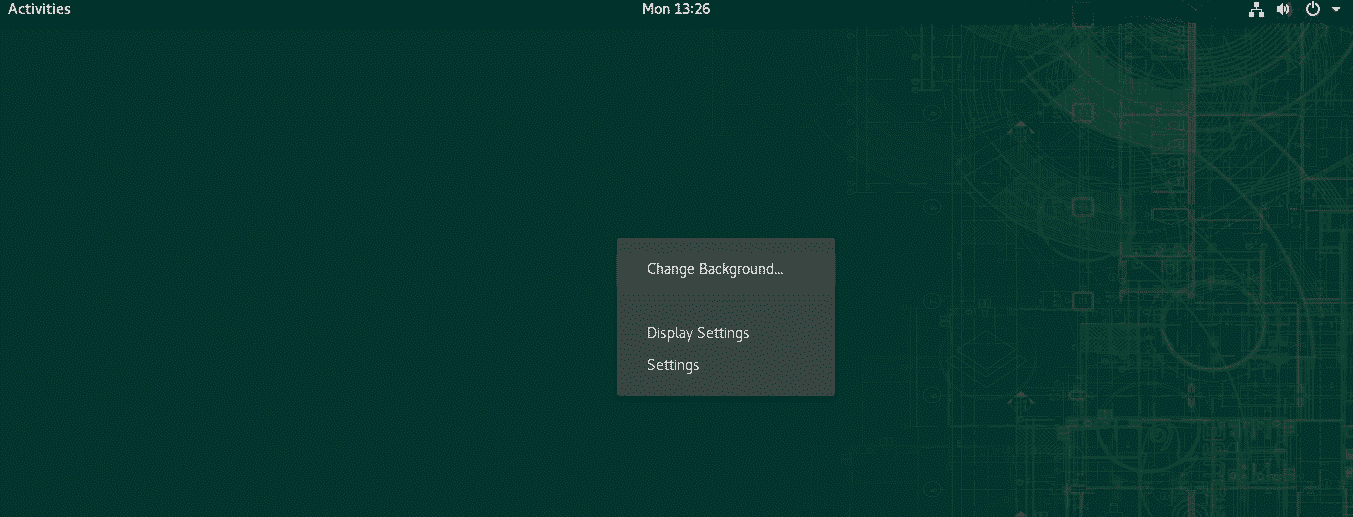
GNOME Background
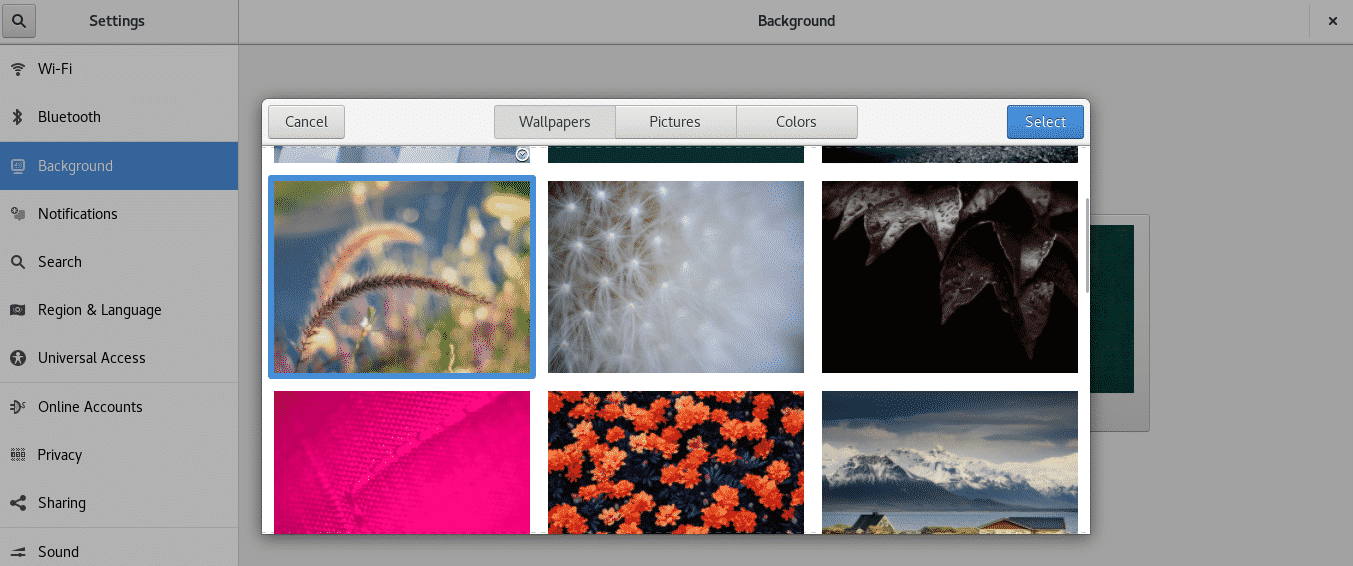
This is the simplest form of customization. Suitable desktop background can definitely impact the experience. To change the desktop background, right-click on any empty space on the desktop and select “Change background”.
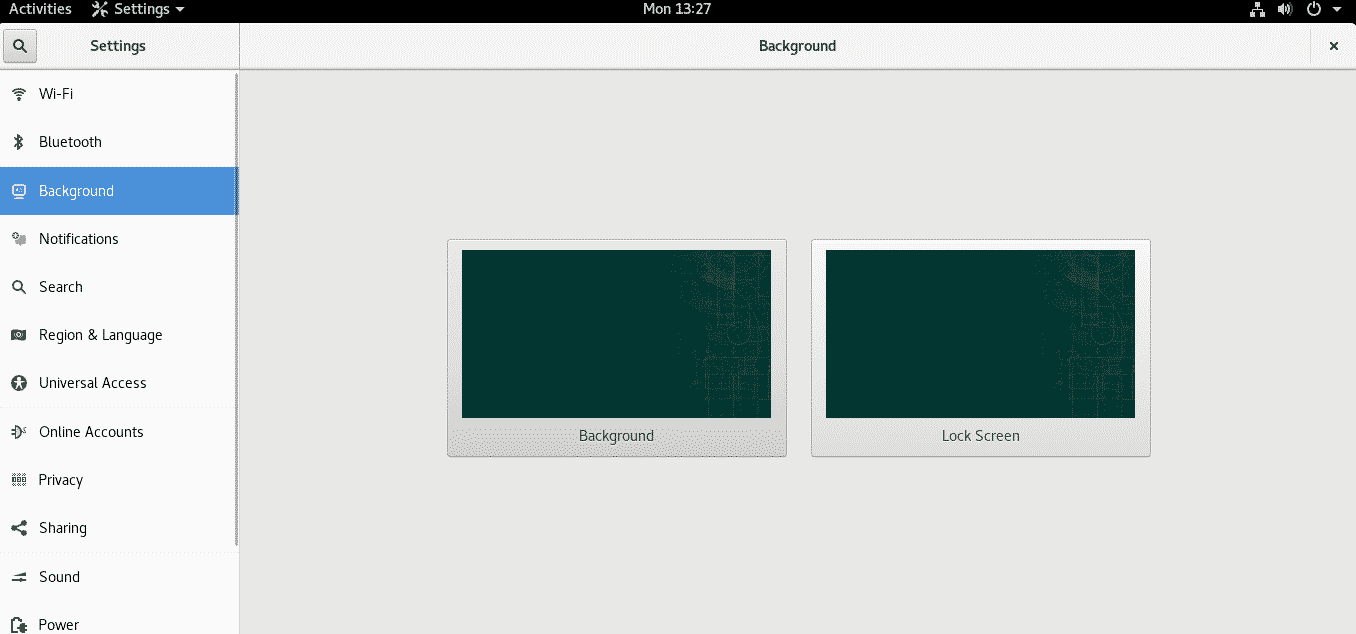
Here, you can set a different wallpaper for the normal desktop and the lock screen.
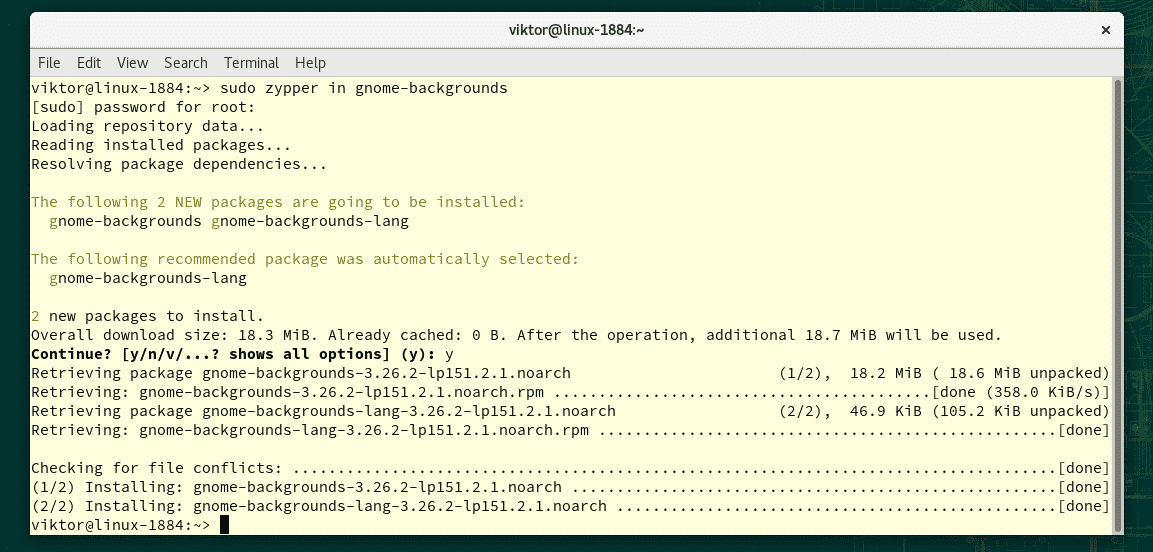
GNOME offers a default set of wallpapers. To install the GNOME wallpapers, fire up a terminal and run the following command. Learn more about zypper and its usage.
Let’s check them out.
 ‘
‘
Well, these are not your only option. There are tons of beautiful wallpapers all over the internet. Unsplash is my favorite place to get high-resolution wallpapers.
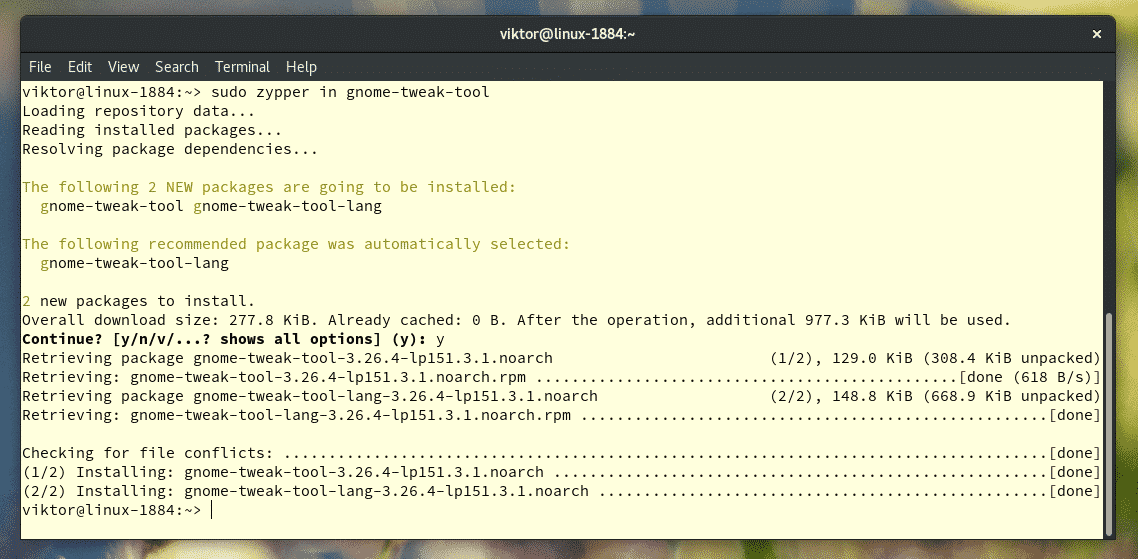
GNOME Tweaks
It’s a part of the GNOME Apps family. GNOME Tweaks is a powerful tool for customizing the look and feel of GNOME.
GNOME Tweaks should already be installed when installing GNOME. However, if it’s not installed for some reason, run the following command to install GNOME Tweaks.
Launch it from the menu.
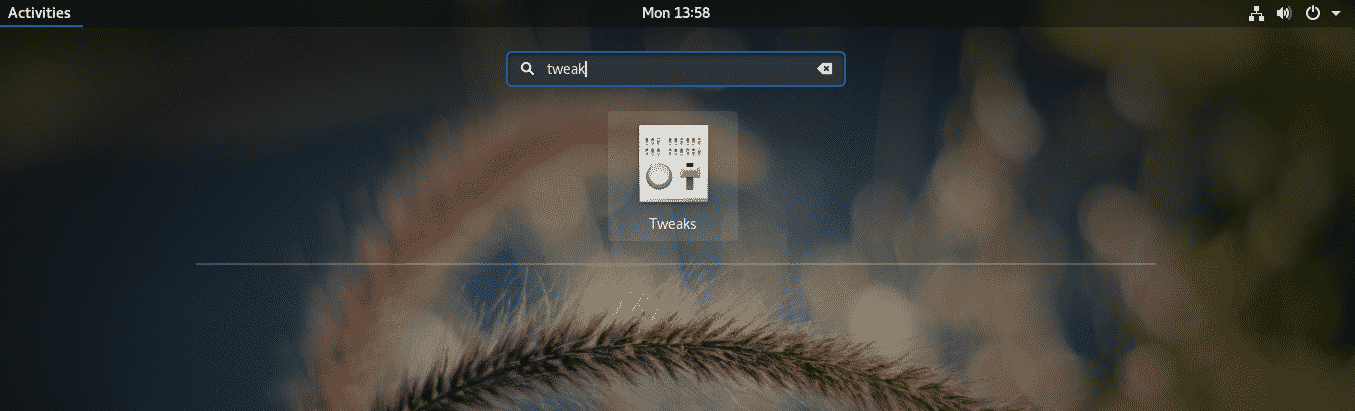
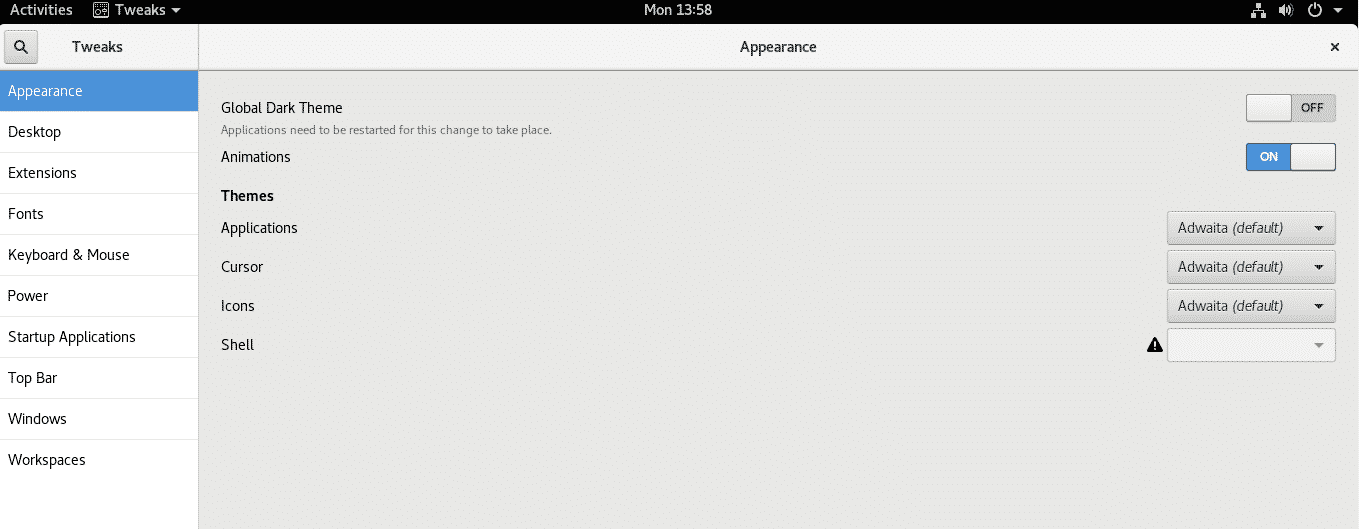
Feel free to experiment around the settings. As long as you put a little bit of effort into understanding what changes are being made, there’s a pretty little chance of things going wrong. If things go wrong, then you know where to reset it.
Final thoughts
If anything goes wrong at any point, the community is a great place to get help. Both openSUSE and GNOME are widely popular and there’s a good chance that your problem is already solved. Check out the openSUSE forum.
Enjoy!