How To Install Jenkins on Ubuntu
Jenkins is an open source automation server. It is used for building software or apps automatically, unit testing of different programming projects and much more. Jenkins can be used as a continuous integration or CI server. It is easy to install and configure and it supports many extensions. Many programming languages are supported on Jenkins such as PHP, Python, C/C++ etc.
In this article, I will show you how to install Jenkins 2.73.3 LTS on Ubuntu 17.10 Artful Aardvark. Let’s get started.
First, go to the official website of Jenkins at https://www.jenkins.io from your favorite web browser. I am using Firefox.
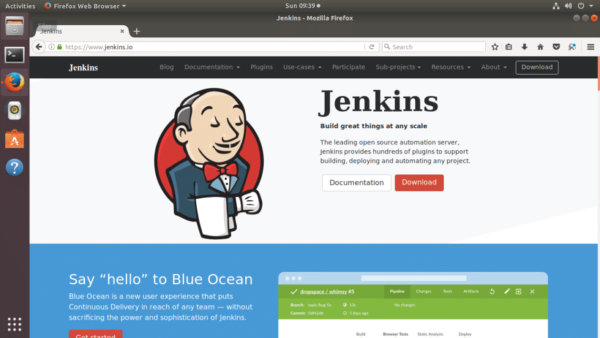
Now click on the red “Download” button. You should see the following page as shown in the screenshot.
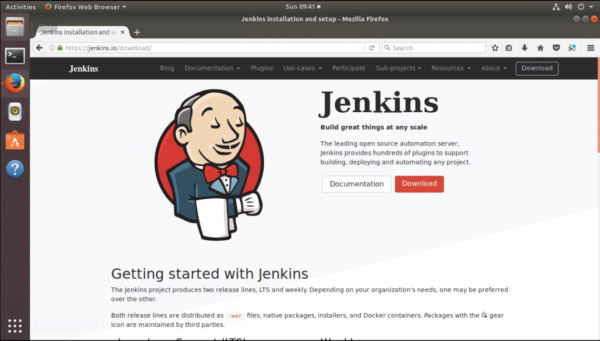
Now scroll down a little bit. You should see Jenkins 2.73.3 LTS version download link for Ubuntu as shown in the screenshot. Click on Ubuntu/Debian.
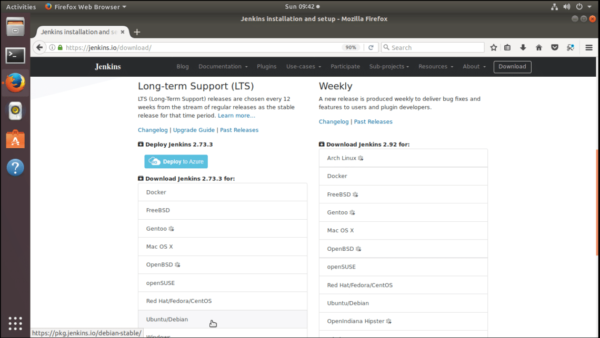
You should see the following page as shown in the screenshot.

You can install Jenkins 2.73.3 in two ways. You can either add Jenkins repository to your Ubuntu operating system, use apt package manager to install Jenkins. Or you can download the deb file of Jenkins 2.73.3 from this page and use dpkg to install Jenkins 2.73.3.
Using dpkg to install Jenkins is not recommended as dependency problems may arise. You may need to fix these manually. So I prefer using the apt package manager.
Again using the package manager has its advantages. You will get notified if any new version of Jenkins is available. If your system is configured to update packages automatically, then Jenkins will also be updated automatically.
If you don’t want update Jenkins automatically, you can do so using a package manager as well. I will show you how to do that at the end of the article.
I will use apt package manager to install Jenkins in this article. Because I feel it’s easier and safer.
Installing Jenkins on Ubuntu 17.10:
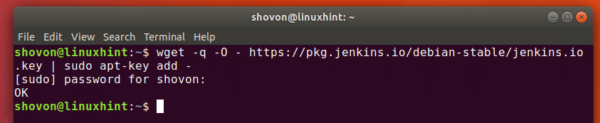
To install Jenkins using apt package manager, first we have to add the GPG key of Jenkins. Run the following command to add the GPG key:
$ wget -q -O - https://pkg.jenkins.io/debian-stable/jenkins.io.key | sudo apt-key add -
The GPG key has been added.
Now we have to add the Jenkins package repository to our Ubuntu 17.10 operating system. To do that, create a new file under /etc/apt/sources.d/jenkins.list using the following command.
$ sudo touch /etc/apt/sources.d/jenkins.list

Now add the following line to the newly created file with the following command:
$ echo “deb https://pkg.jenkins.io/debian-stable binary/” | sudo tee /etc/apt/sources.list.d/jenkins.list

We can run the following command to verify that the Jenkins entry was added to the Jenkins.list file with the following command:
$ cat /etc/apt/sources.list.d/jenkins.list
You can see that the line was added to jenkins.list file.

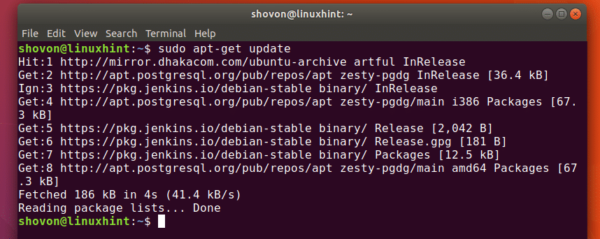
Now we have to update the package repository cache of Ubuntu 17.10 operating system with the following command:
$ sudo apt-get update
If you try to install Jenkins using apt, the latest version of Jenkins will be installed. As of this writing it is Jenkins 2.73.3. But in the future, it will be a different version.
So to install the latest version of Jenkins, run the following command:
$ sudo apt-get install jenkins
If you want to install a specific version of Jenkins, say Jenkins 2.73.3, you can specify the version when you install. This is what I will be doing, as this is what this article is about.
Run the following command to install Jenkins 2.73.3:
$ sudo apt-get install jenkins=2.73.3
Press ‘y’ and then press <Enter> to continue. It should take a while to download and install everything.
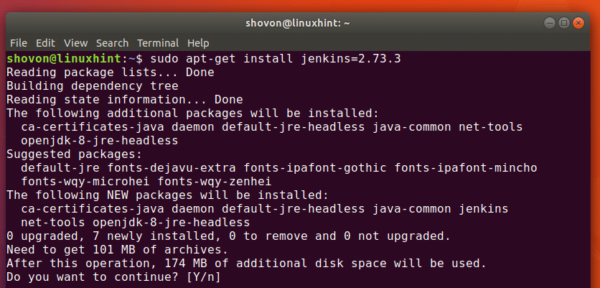
On completion of the installation, you should see something like this.

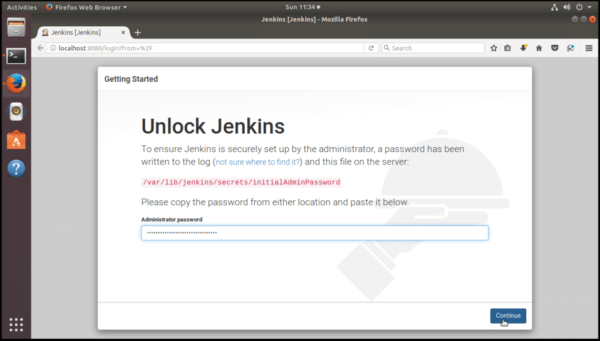
Once the installation is complete, open a web browser and go to http://localhost:8080
You should see the following page. The default admin password is written to the file as marked in red text in this page. We have to copy and paste the password in the “Administrator password” section.

To find the password, just copy the location of the file and use the ‘cat’ command to read the file as shown below:
$ sudo cat /var/lib/jenkins/secrets/initialAdminPassword
The output is a hex string. Copy this line and paste it on the page.

Now click on “Continue”
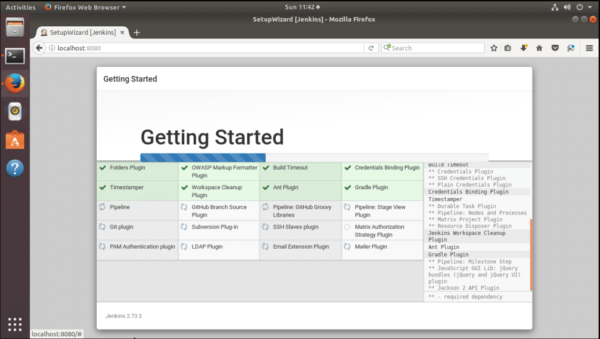
Now you should see the following page. If you’re an expert on Jenkins, you can select plugins to install yourself. But if you’re new to Jenkins, you should select “Install suggested plugins”. It will install the most common plugins that are used by the Jenkins community. I will select “Install suggested plugins”.

The plugin installation process should start. Depending on your internet connection, this process may take a while to complete.
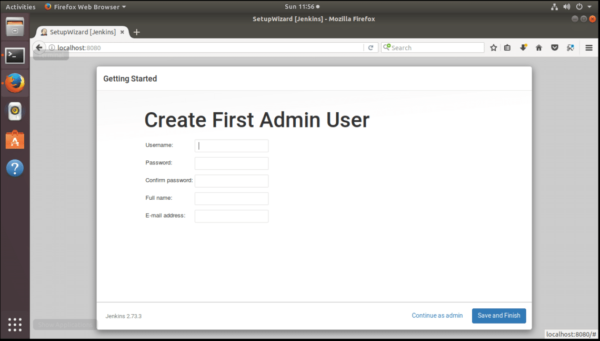
Once the plugin installation is complete, Jenkins should ask you to provide these details so that it can create the first Admin user. Fill in the details and click on the blue button that says “Save and Finish”
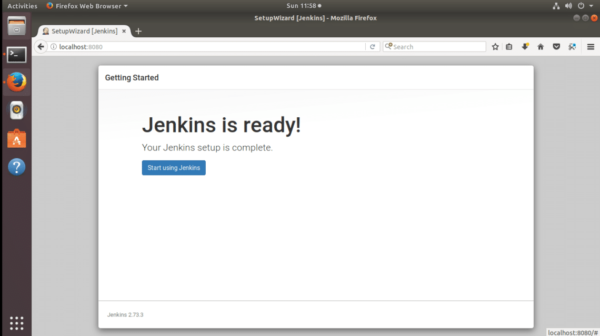
Now click on “Start using Jenkins”.
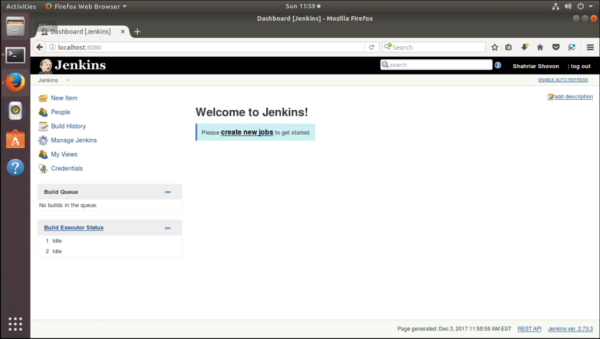
You should see the following page. This is the management interface of Jenkins.
NOTE: This section is optional.
If you want to keep using Jenkins 2.73.3, and you don’t want your package manager to update Jenkins automatically, you can put Jenkins package on hold. You can do it with apt package manager from the command line.
To hold the package, run the following command:
$ sudo apt-mark hold jenkins

You can also remove the hold. If you do so, Jenkins package will update along with other packages of your Ubuntu operating system as before.
To remove the holds, run the following command:
$ sudo apt-mark unhold jenkins

So this is how you install Jenkins 2.73.3 on Ubuntu 17.10 Artful Aardvark. Thanks for reading this article.