How to Use Split Screen on Ubuntu 17.10 Artful Aardvark
Split Screen is a feature of Ubuntu 17.10 Artful Aardvark that lets you divide or share the screen between applications. So each app gets half of the total width of the display. You can run two applications side by side using split screen feature. In this article, I will talk about Split Screen and how to use Split Screen on Ubuntu 17.10 Artful Aardvark. Let’s get started.
Why use Split Screen:
You can keep a pdf or electronic book (E-Book) open on one side and a messenger open on another side, so when you get messages on messenger, you can quickly reply, and when you have to wait for a reply, you can quickly go back to reading your favorite book.
If you’re a programmer working on some project, you may want to keep a code editor and a terminal open at the same time. So when you want to run your code, you can easily switch to the terminal, run the code, see the output, if you don’t get what you expected, then go back to the code editor, fix the code and go back to the terminal again, run the code and see the output. Wouldn’t it be nice if we could place a code editor and the terminal side by side and could navigate between them easily? Yes, it would be and we can achieve this with the help of Split Screen.
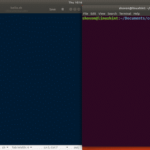
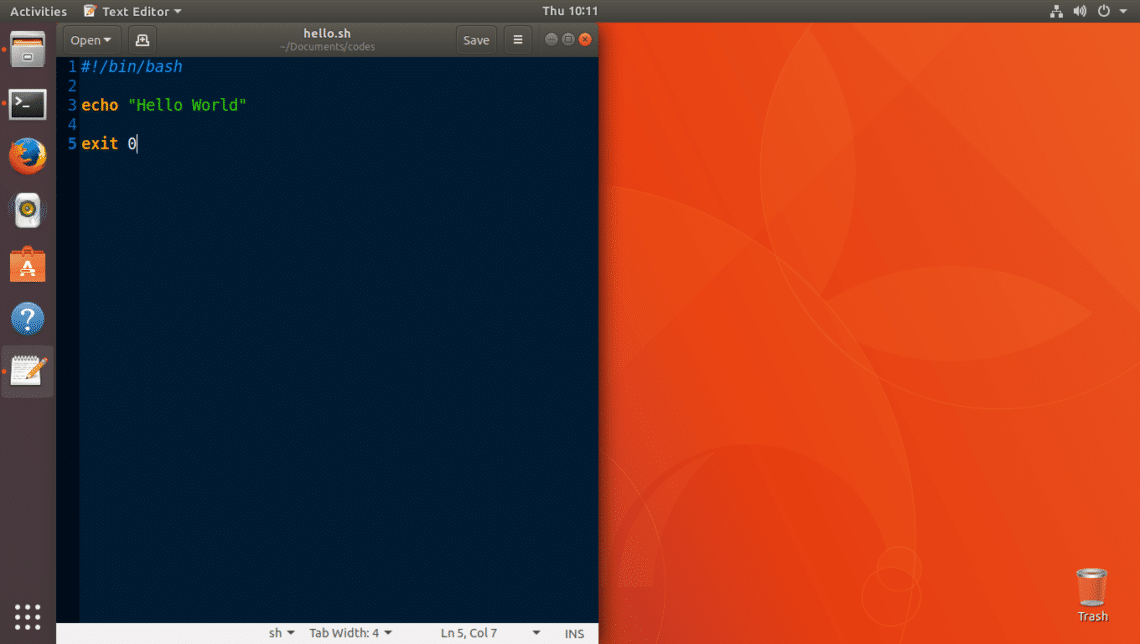
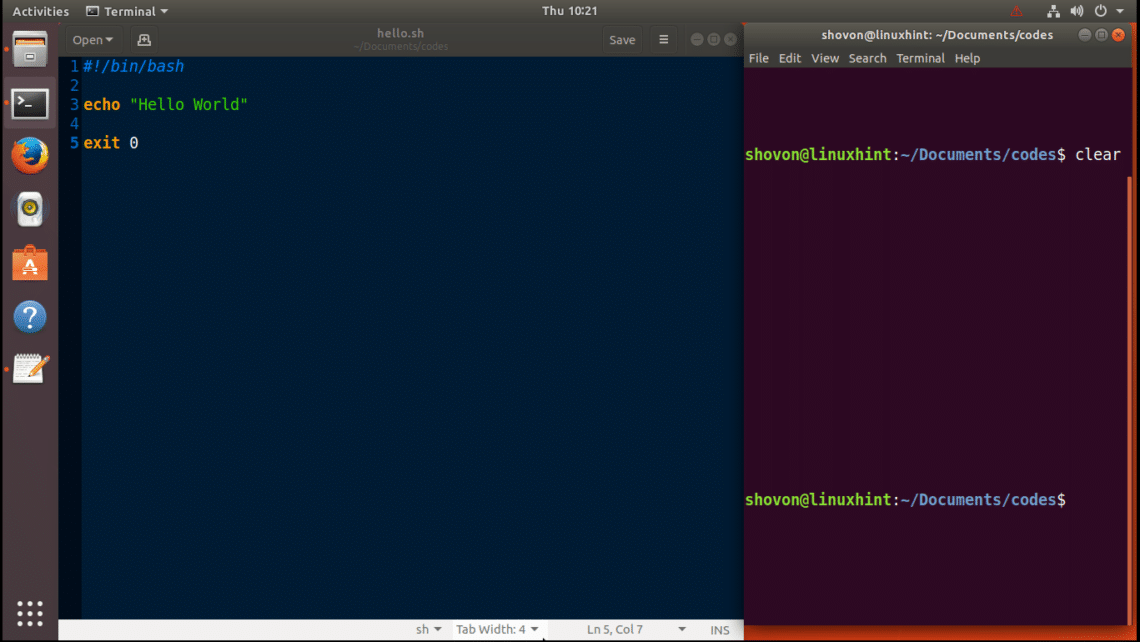
Talking too much might not make sense, so I got a screenshot below to show you how Split Screen looks like. I have gedit open on the left side, and a terminal open on the right side. Both the gedit and the terminal takes up 50% of the available screen. You can navigate between these using keyboard shortcuts as well.

Using Split Screen:
It is really simple to use split screen. You can access Split Screen through the graphical user interface (GUI) or through some predefined keyboard shortcuts on Ubuntu 17.10 Artful Aardvark. I will show you both ways in this article.
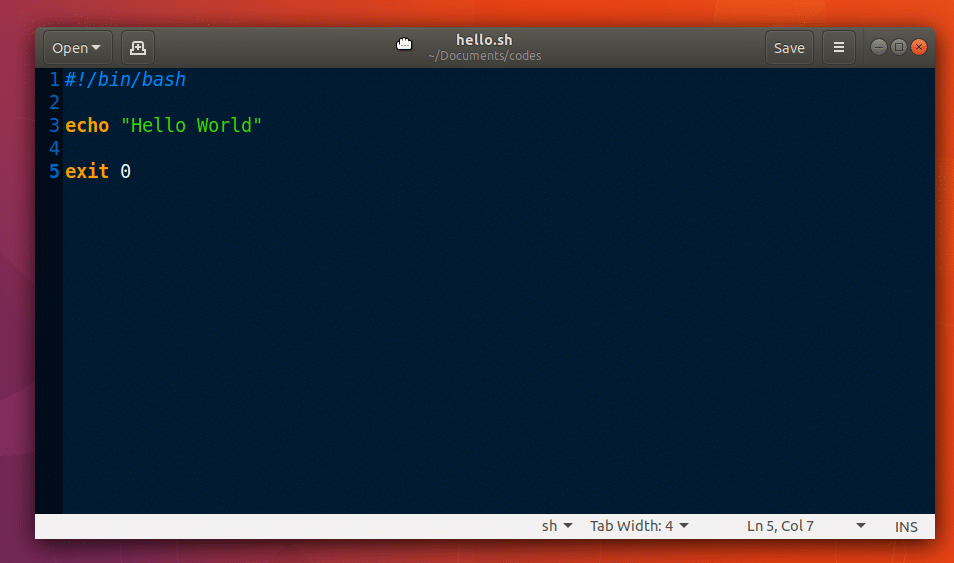
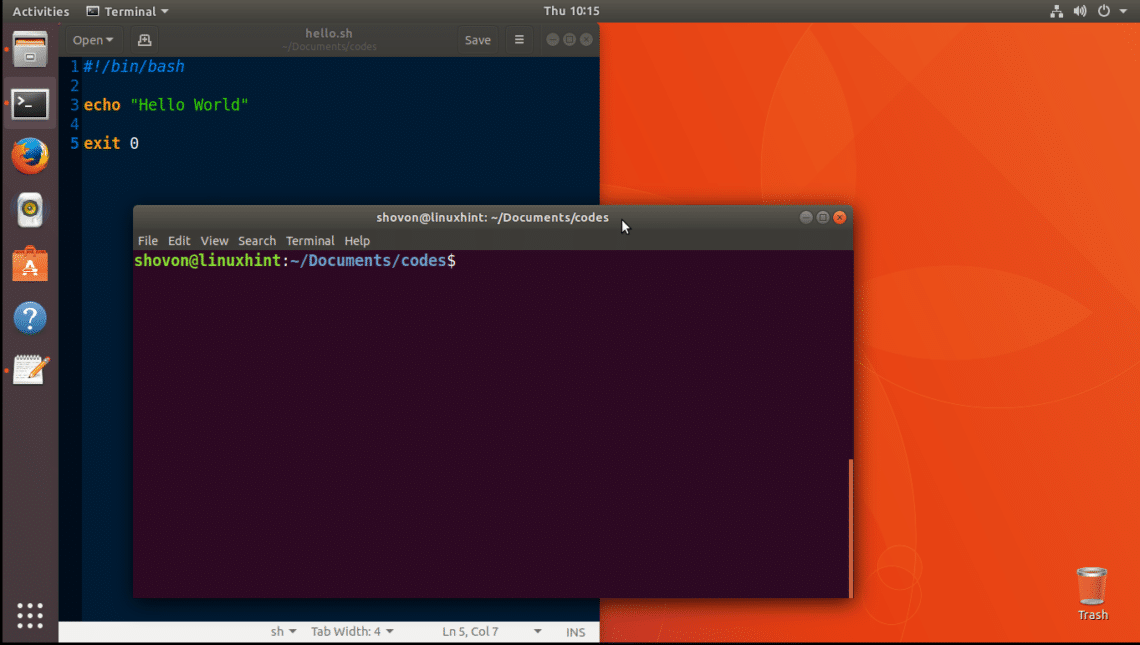
To use Split Screen from the GUI, open any application and grab a hold of (by pressing the left mouse button) it anywhere in the title bar of the application.
Now move the application window to left or right edge of the screen. Depending on which edge you take the application window, the placement of the window whether left or right will be determined. I will show you how to place it on the left here, so I can put the terminal window to the right later on.
You should see this rectangular area as shown in the screenshot below. Just release the application window when you see this.
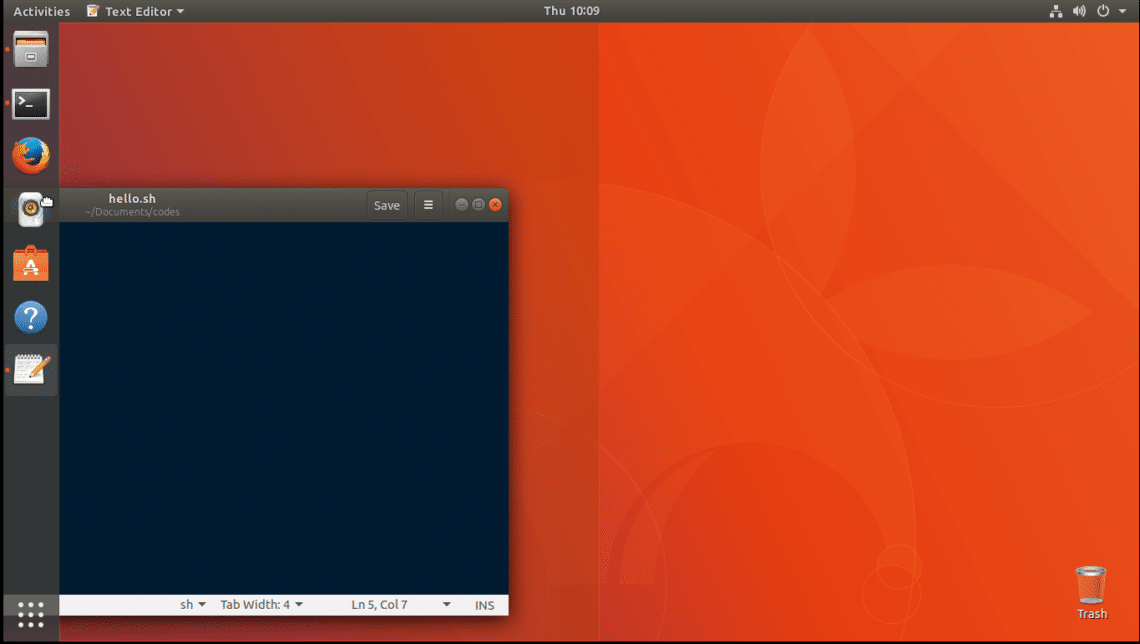
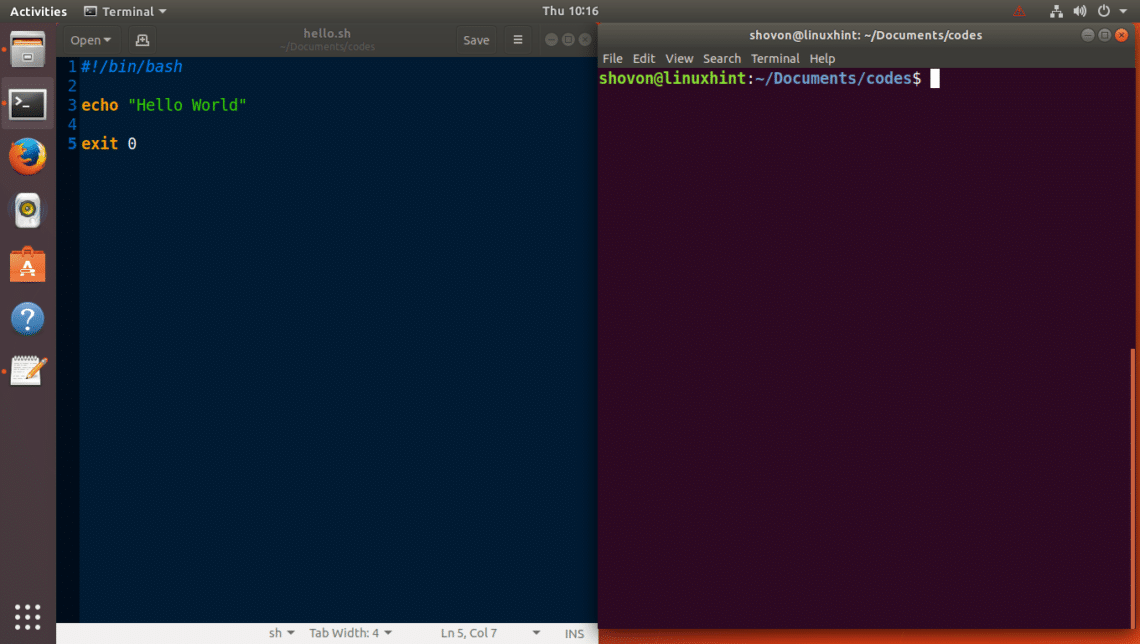
The application window should be placed on the correct side.
Now I will do the same for the terminal but using the keyboard shortcut. Open a terminal and make the terminal window active by clicking on it once.
Now press <Super> and then <Right Arrow Key> together. Your terminal window now should take the right half of the screen.
NOTE: <Super> key on Windows laptop or keyboard is the <Windows> key.
You can also use <Super> and <Left Arrow Key> to place a window to the left half of the screen.
Resizing the Split Screens:
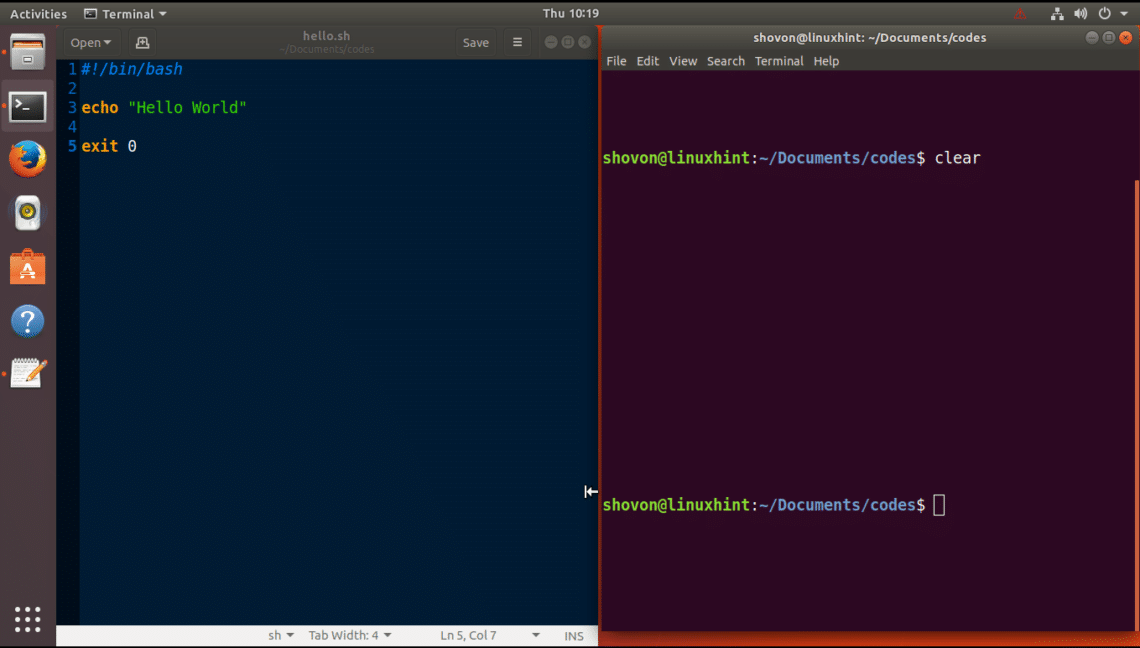
You can decide how much of the screen you want for the application in the left and how much for the application on the right. Just go to the middle of the screen where the two application joins, and your mouse pointer should change as shown in the marked area of the screenshot below.
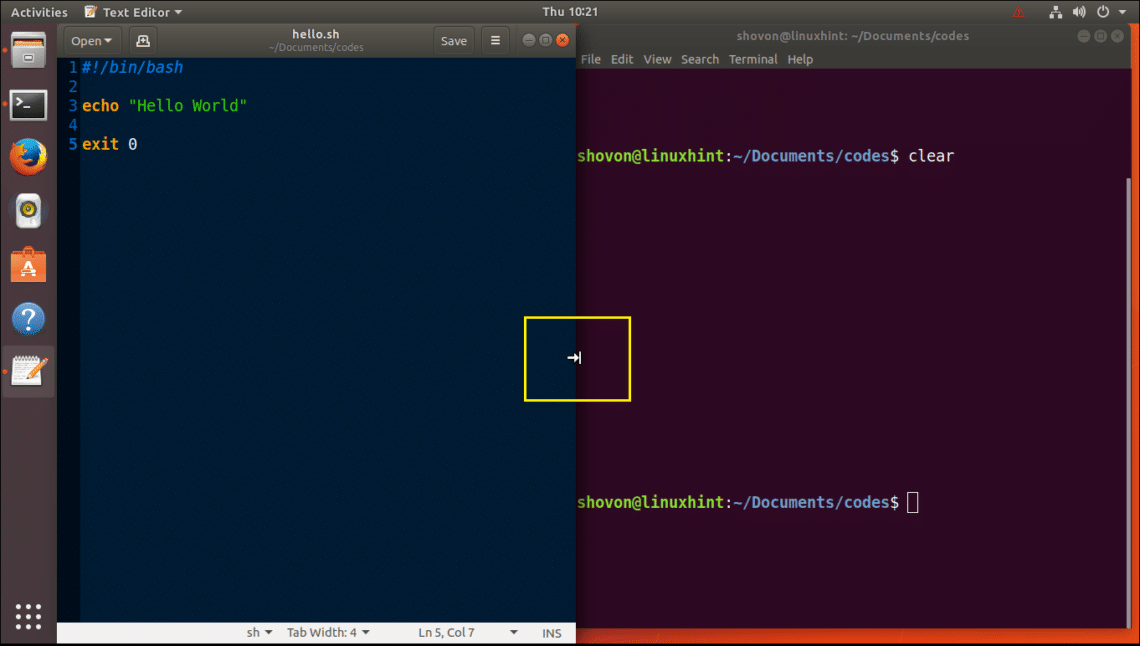
If you press the <Left Mouse Button> or click now, you should see an orange line appear between the two applications as shown in the screenshot below.
Just drag to either Left or Right as shown in the screenshot.
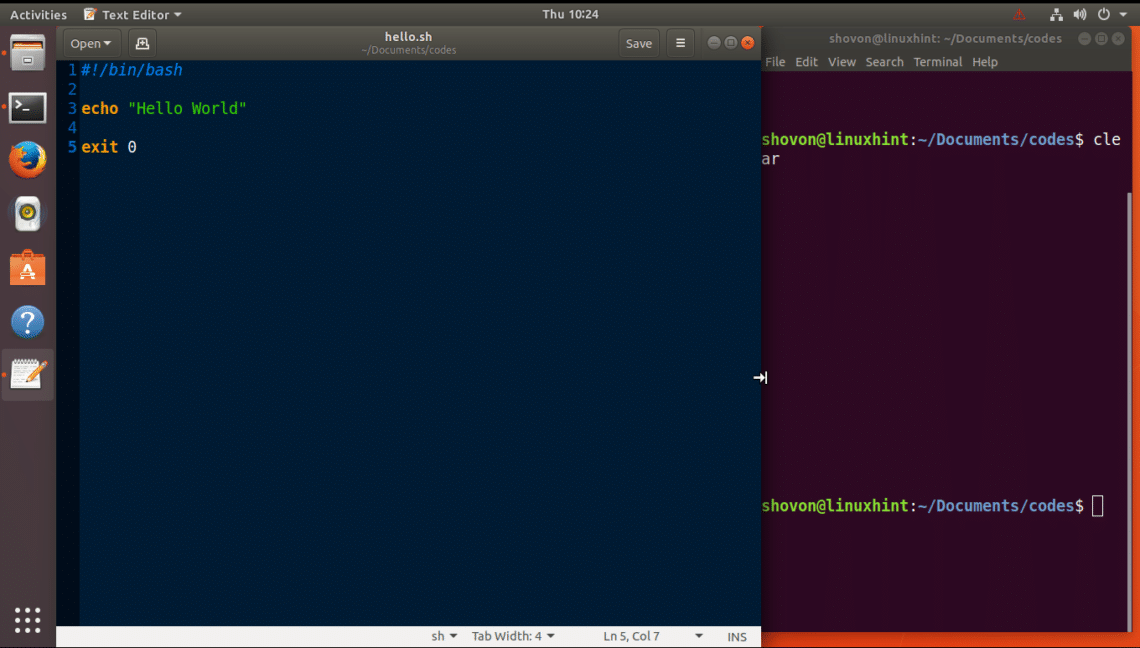
Once you’re happy with the arrangement, just release the mouse click and there you have it.
Removing an Application from the Split Screen View:
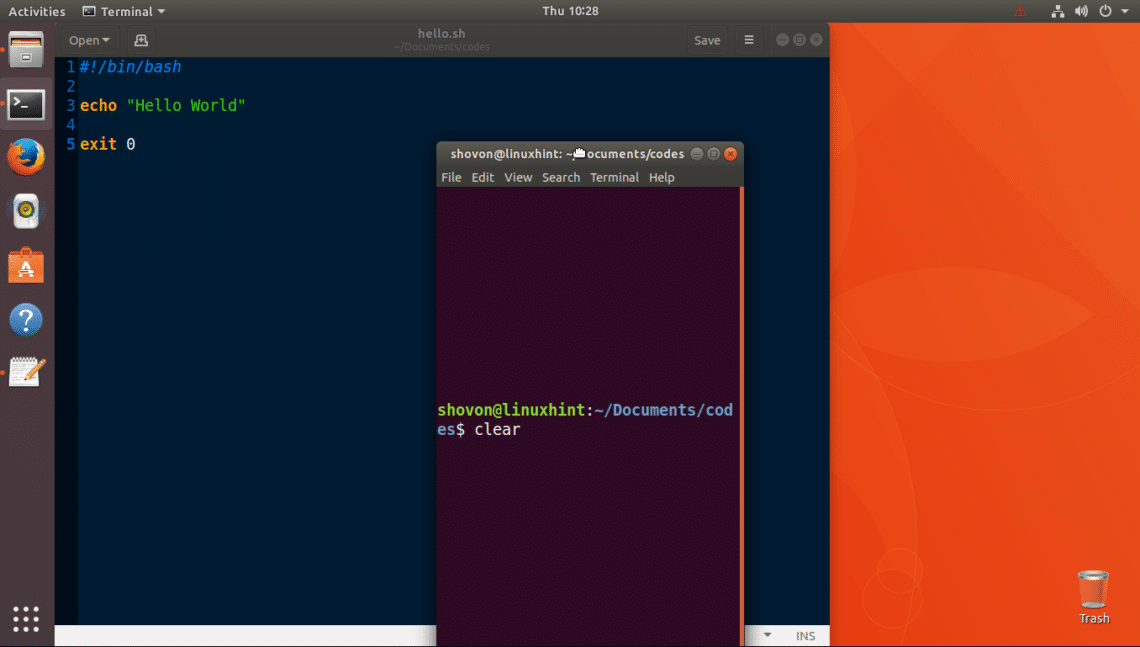
You can remove the application from the split screen view by just clicking and holding the application window title and dragging the window to the center of the screen.
You can also use the keyboard shortcuts. For example, if the window is on the left side of the screen, pressing <Super> + <Left Arrow Key> would take it out of the split screen view. If it is on the right side of the screen, <Super> + <Right Arrow Key> would take it out of the split screen view.
So that’s how you use Split Screen on Ubuntu 17.10 Artful Aardvark. Thanks for reading this article.