GNOME boxes is an alternative to virtual box and VM Player to install and run multiple local or remote virtual machines from one computer. It is a perfect application to test any new operating system from Linux. This application is very simple to use and the user can get a proper idea on the whole virtualization process by using the user-friendly interface of it. How you can install and start to use GNOME boxes on Ubuntu are shown in this tutorial.
Installing GNOME Boxes
Steps:
- Update the system before installing the system.
$ sudo apt-get update


- Run the following command to install GNOME boxes.
$ sudo apt-get install gnome-boxes
 After the successful completion of the above commands, GNOME boxes will be ready to use and you can go for the next steps to start creating new virtual machine.***Note: At the time of installation, if any error occurs like the message : “Unable to lock the administration directory (/var/lib/dpkg/) is another process using it?”, then run the following commands to solve this problem.$ sudo rm /var/lib/apt/lists/lock
$ sudo rm /var/cache/apt/archives/lock
$ sudo rm /var/lib/dpkg/lock

Creating virtual machine using GNOME
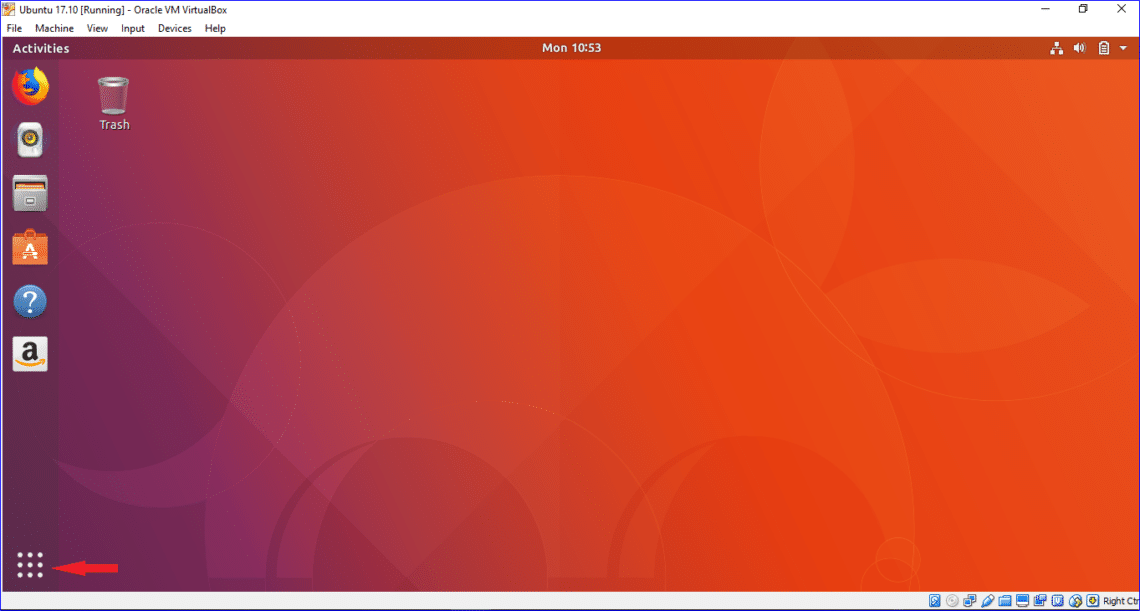
Click on the show application icon to open GNOME boxes after installation.
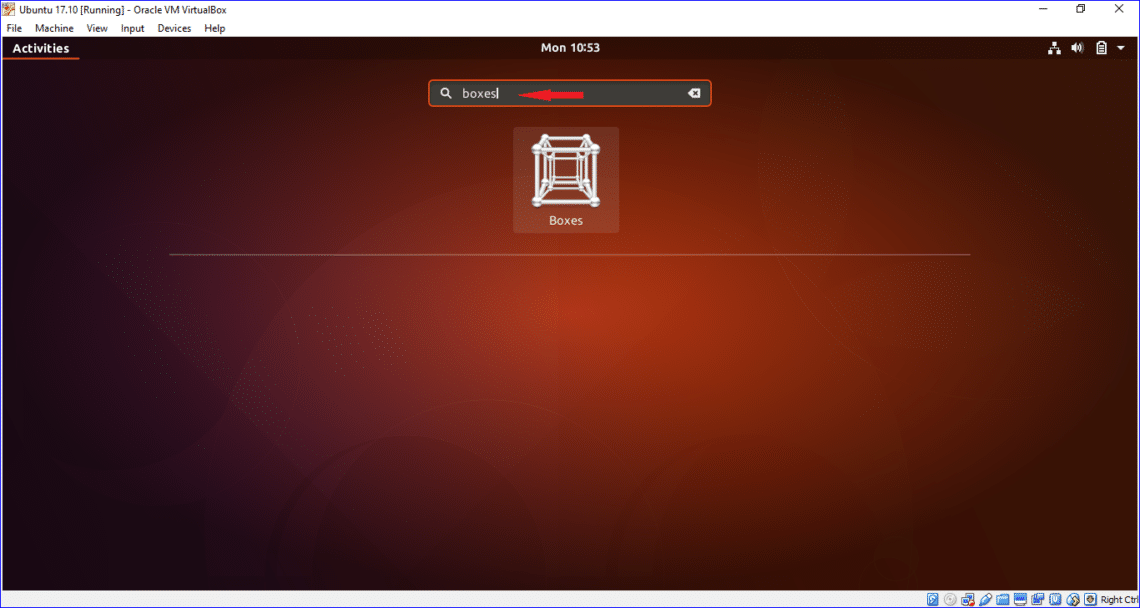
Type boxes on search box and click on GNOME boxes to open it for using.
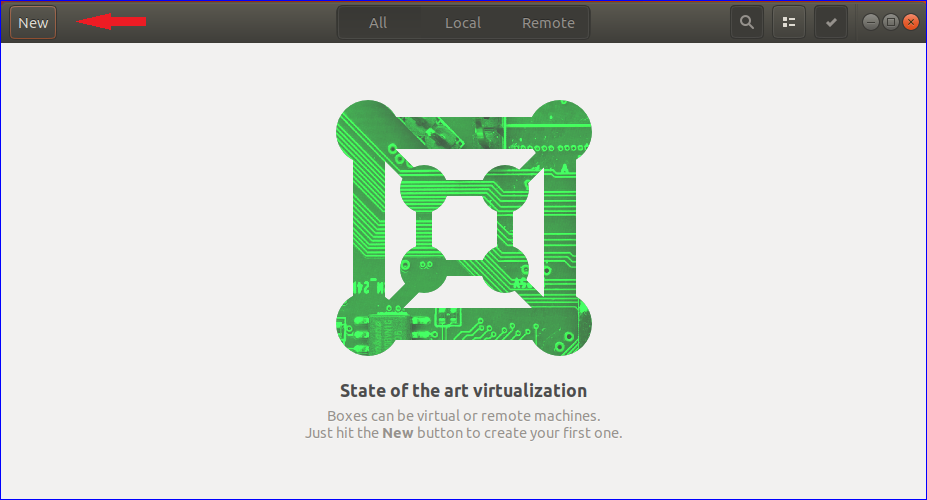
You can create both local and remote virtual machine by using GNOME Boxes. Click on New button to start the process of creating a new virtual machine.
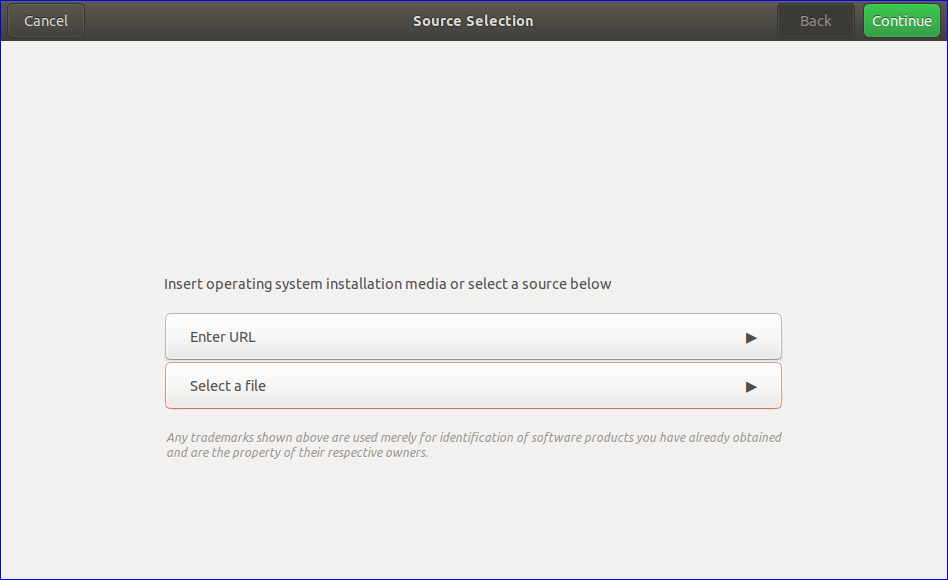
Click on Enter URL button and insert URL location of the operating system installation media or click on select a file button to select any ISO image of the operating system from the local machine to create remote or local virtual machine. In this tutorial, local virtual machine is created. To start the task, click on the second button and browse the location of ISO image that you want to install on GNOME boxes.
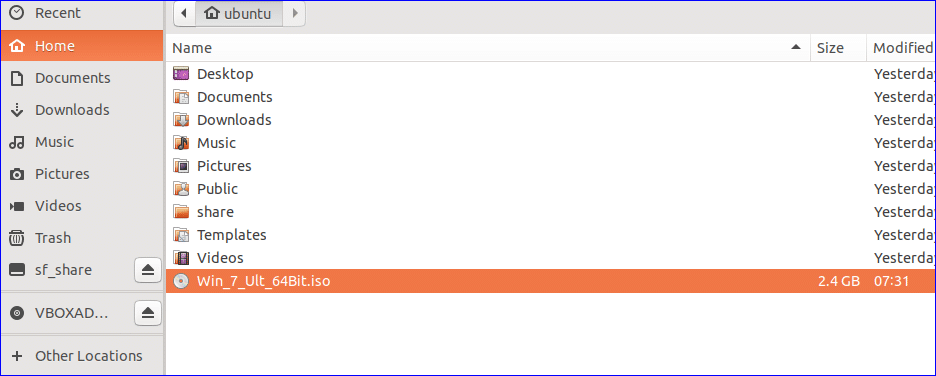
You can select ISO image of any operating system like Windows, Feroda, debian etc. for creating virtual machine. ISO image of Windows 7 Ultimate is selected to create the new virtual machine.
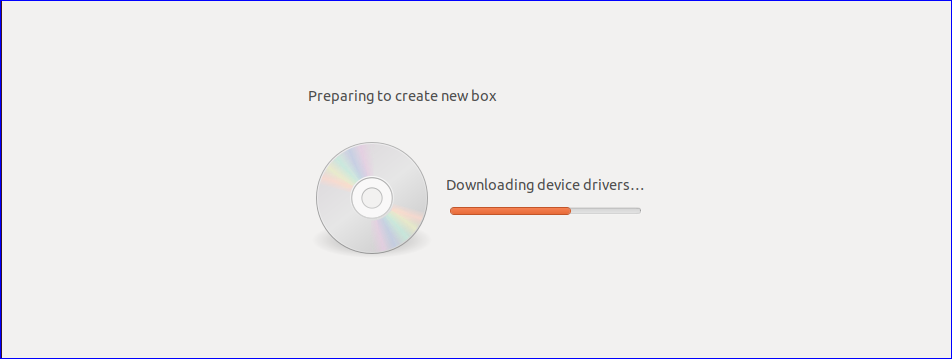
After selecting the ISO image, the following information will appear. It is necessary to download the required device drivers to create a new virtual machine. If the driver files are not found for selected ISO image then the virtual machine will not be created. This task will be done automatically after the selection of image file.
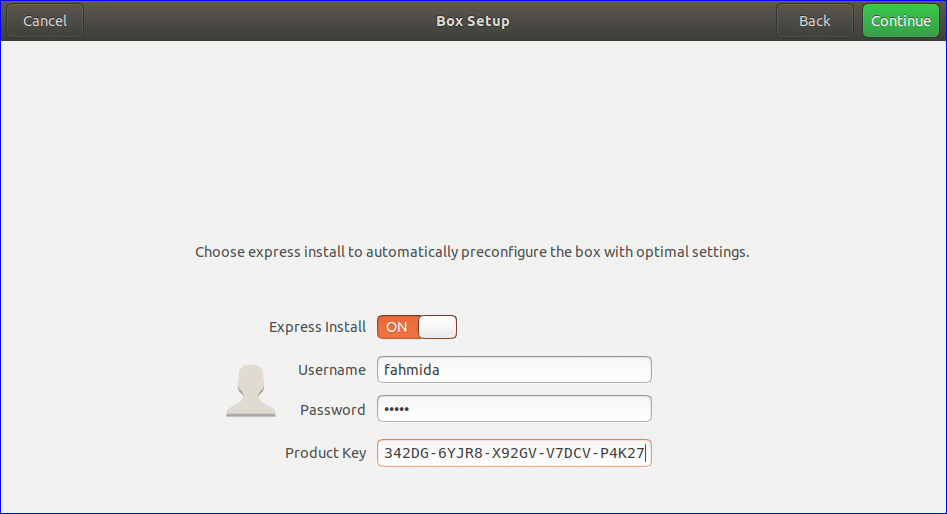
Here, ISO image of Windows 7 is selected for creating a new virtual machine. The following information will be needed to set to start the installation process. Without any serial key, you will not be able to create any windows based virtual machine. So enter username, password and product key of the software. Click on Continue button to start next step of the creation of virtual machine.
The name of the operating system based on selected ISO image will be shown in the dialog box. You can set the memory and disk size of the new virtual machine as your requirement. Click on the Customize button to change these settings.
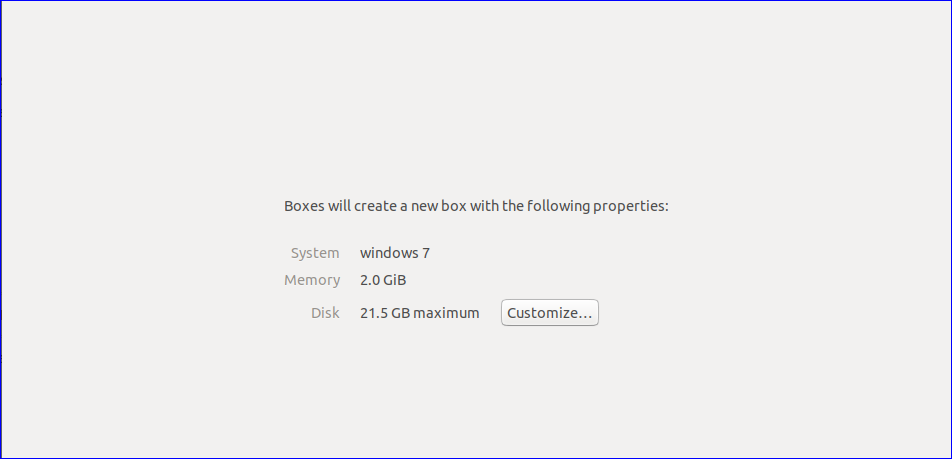
Set the size of the disk and memory as the following image.

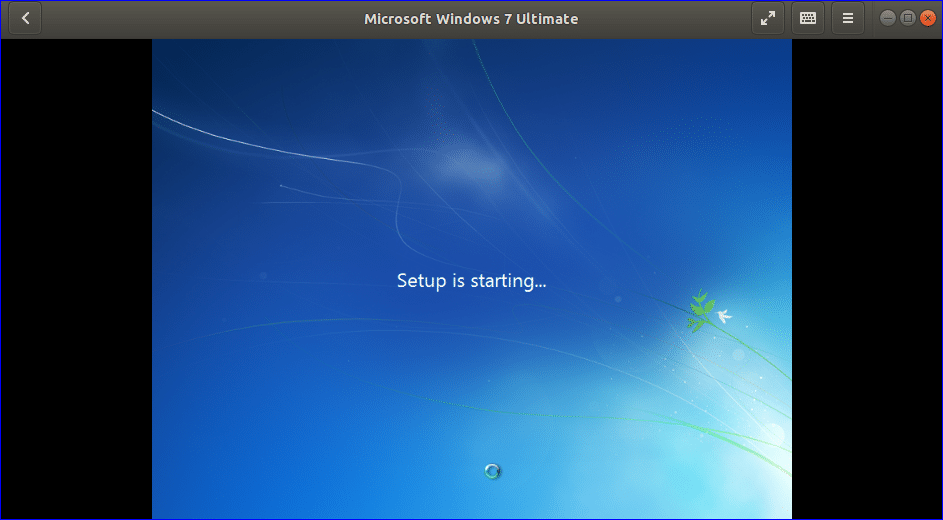
When all the settings are completes then click on the Continue button to go to the next step. The following screen will appear when the installation of Windows 7 will start.

When the following screen appear then you have to wait for sometimes to complete the installation.
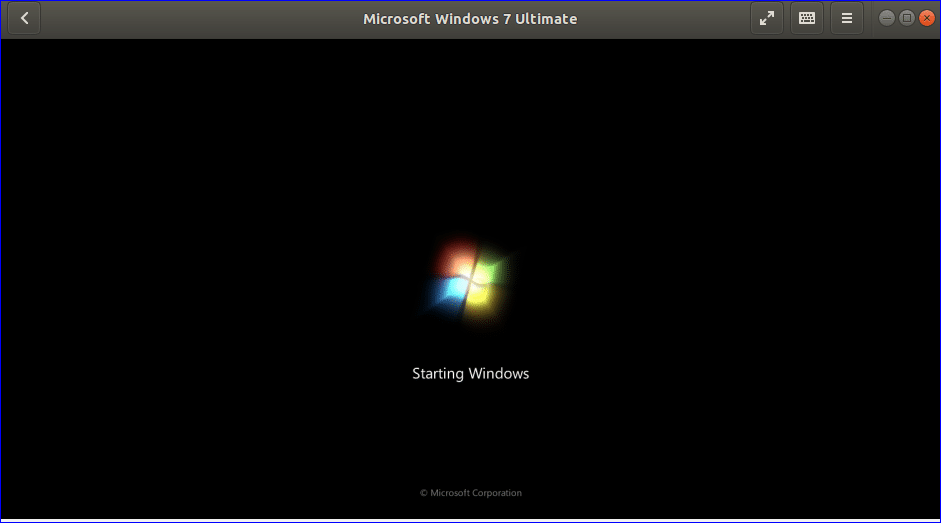
The following screen will appear after the successful installation of newly created Windows 7 based virtual machine.
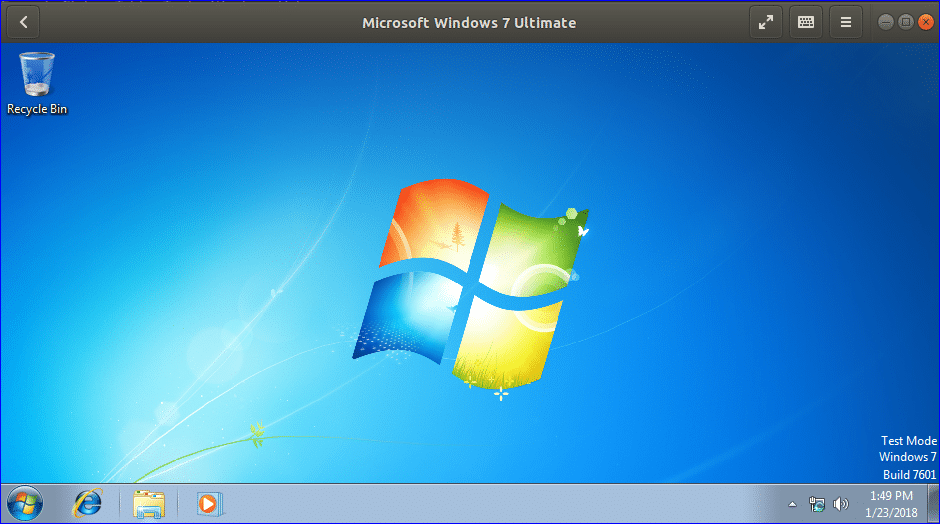
When the new virtual machine is ready to use then it will look like the following image. You can do any types of windows based task on this machine and it will works exactly any other windows 7 operating system.
You can now easily start and shutdown this machine like any other Windows 7 operating system. After shutdown, the virtual machine will be shown in the GNOME boxes like the following image. If you want to start the machine then just click on the icon.

Here, just one virtual machine is installed on GNOME boxes. But you can create many virtual machine by using different types of ISO images and run them independently. In this way, you can test any operating system on GNOME boxes and take the advantages of using multiple operating system from one computer. You can do the above tasks more efficiently by using other similar software, Oracle VM and it has many more features compare to GNOME boxes. But the use of GNOME boxes is easier than other similar software. So, if you are a new user in using virtual machine then you can try this software.